Getting Started
Prerequisites
To install superwerker, you need to fulfil the following two prerequisites:
- A dedicated AWS Account with administrative access (sign up here)
- A domain and manageable DNS settings (You can register domains with Amazon Route53)
if these are in place, you can now begin the installation process.
Installing superwerker
Getting started with superwerker is simple: You only need to deploy a single AWS CloudFormation template into an existing AWS account.
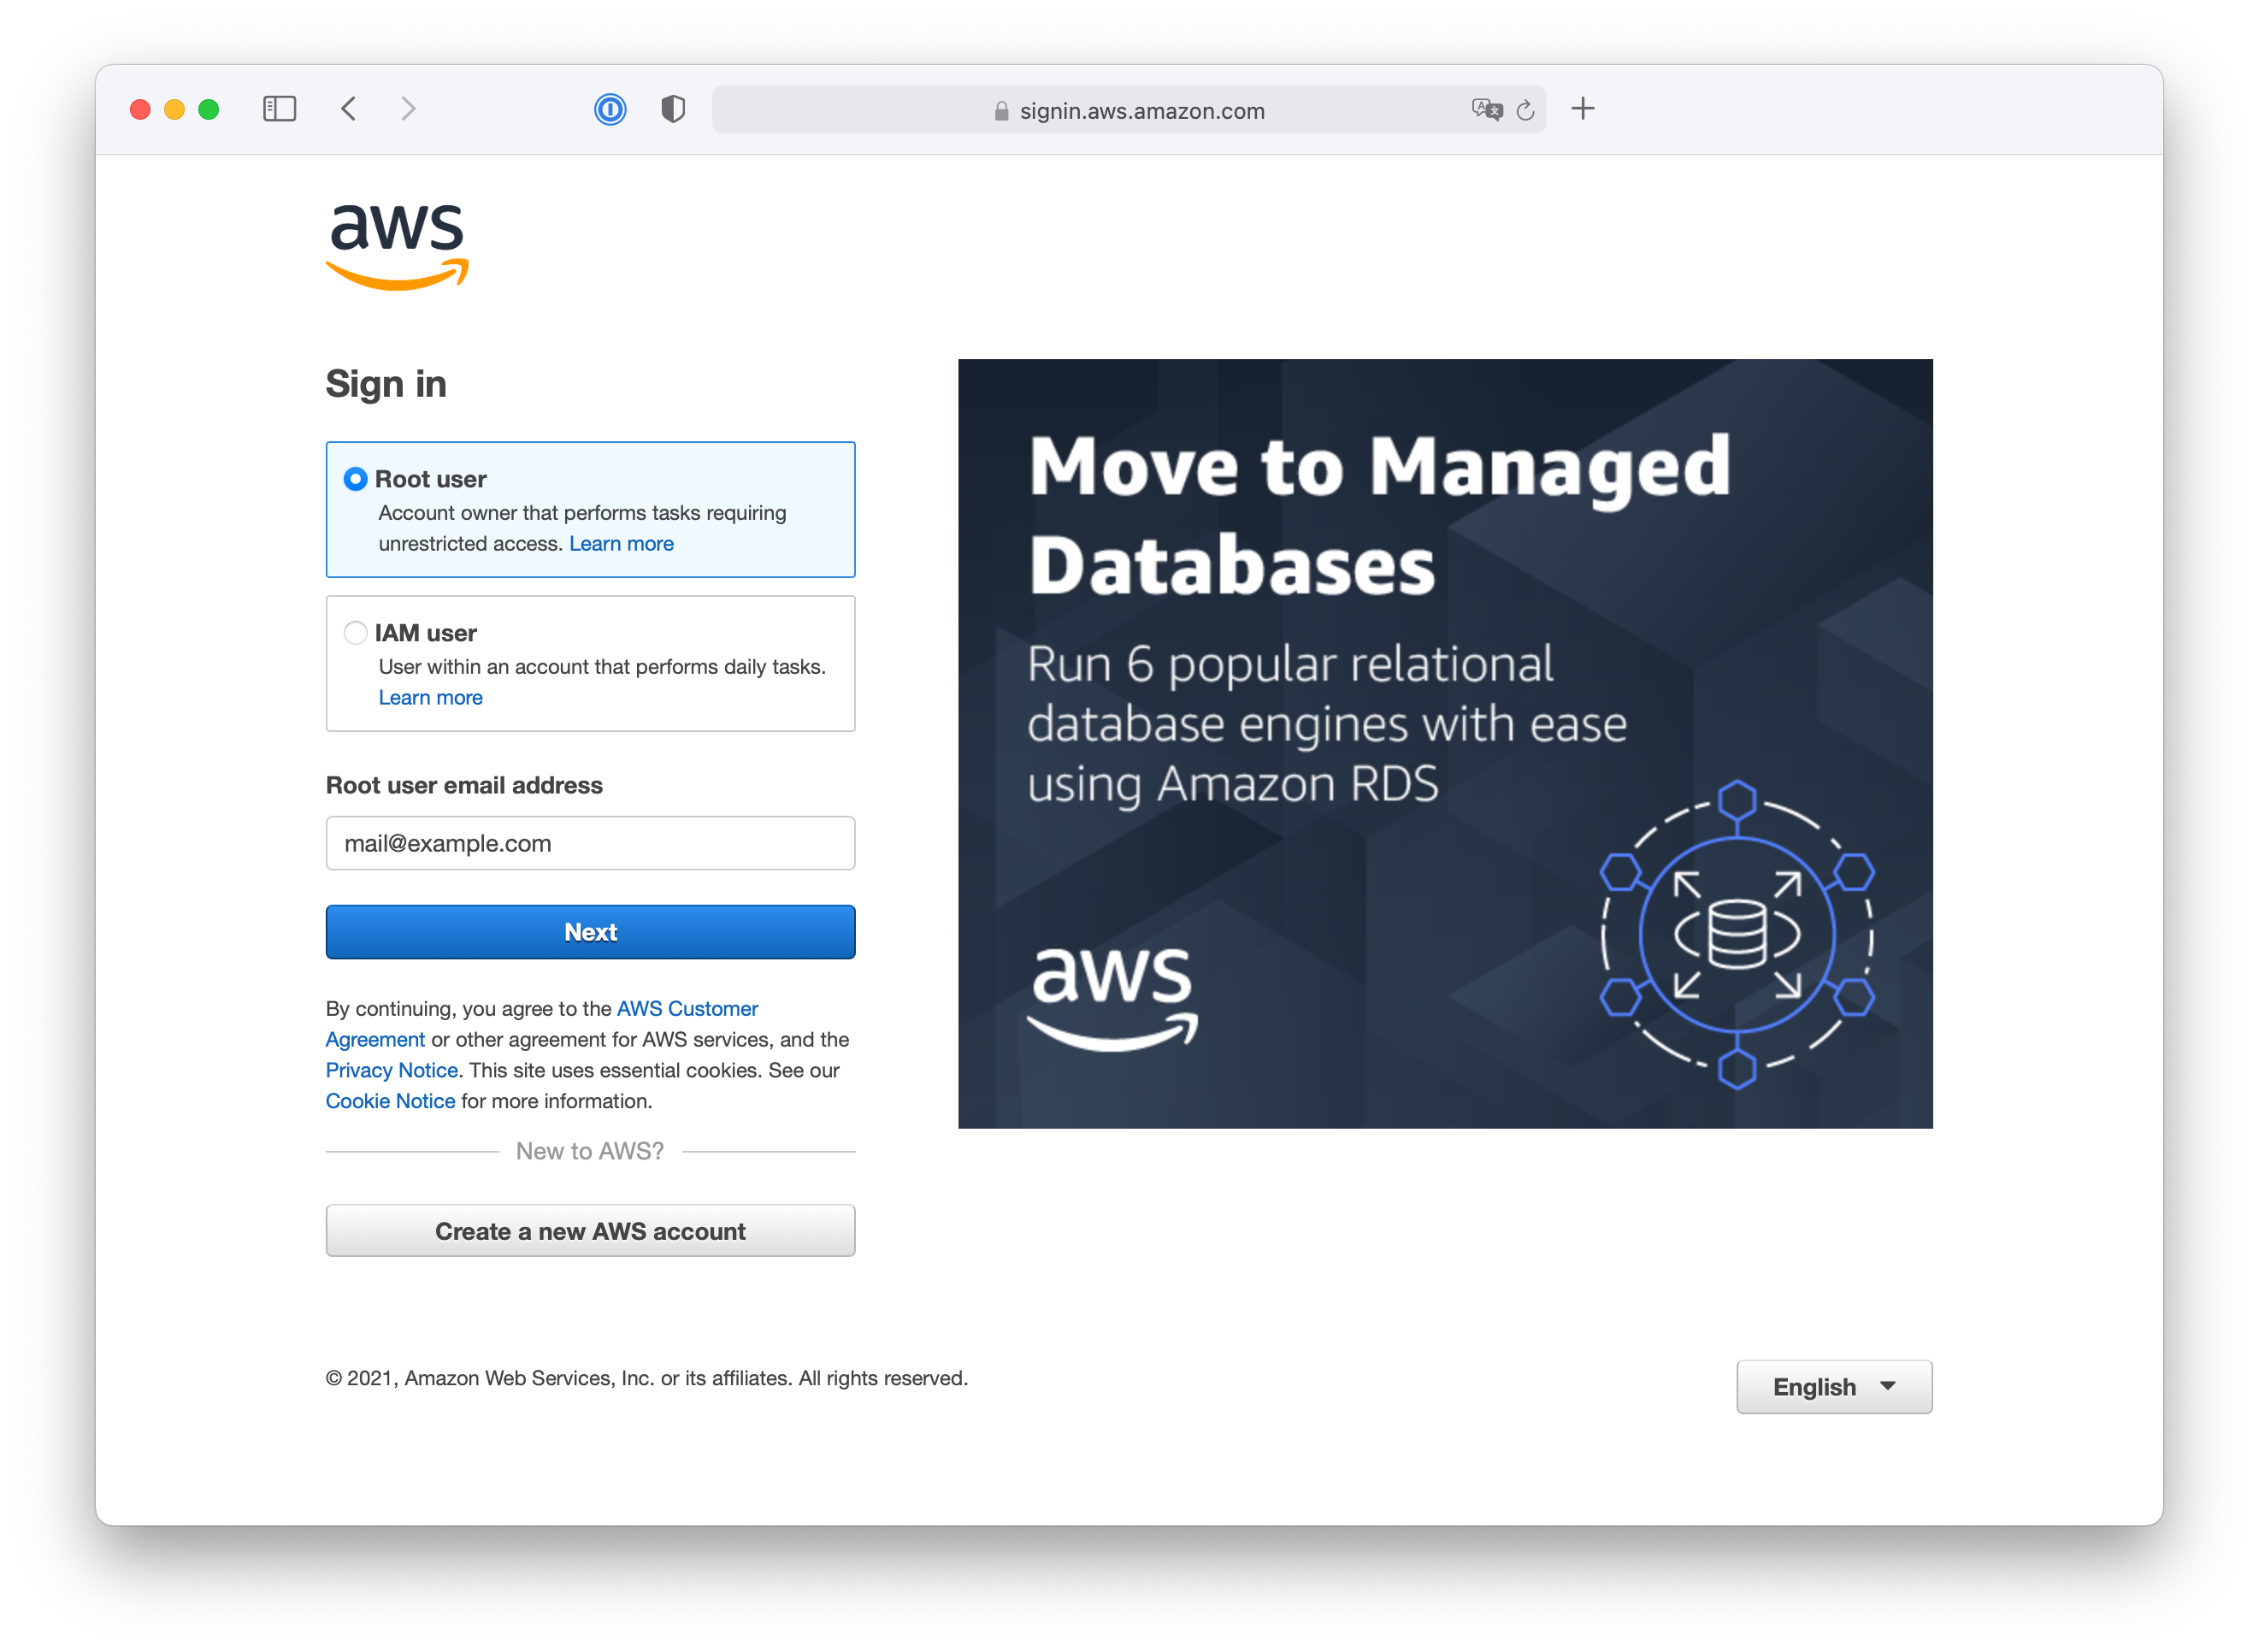
- Sign into your AWS account with your root user email and password if you are not already logged in.
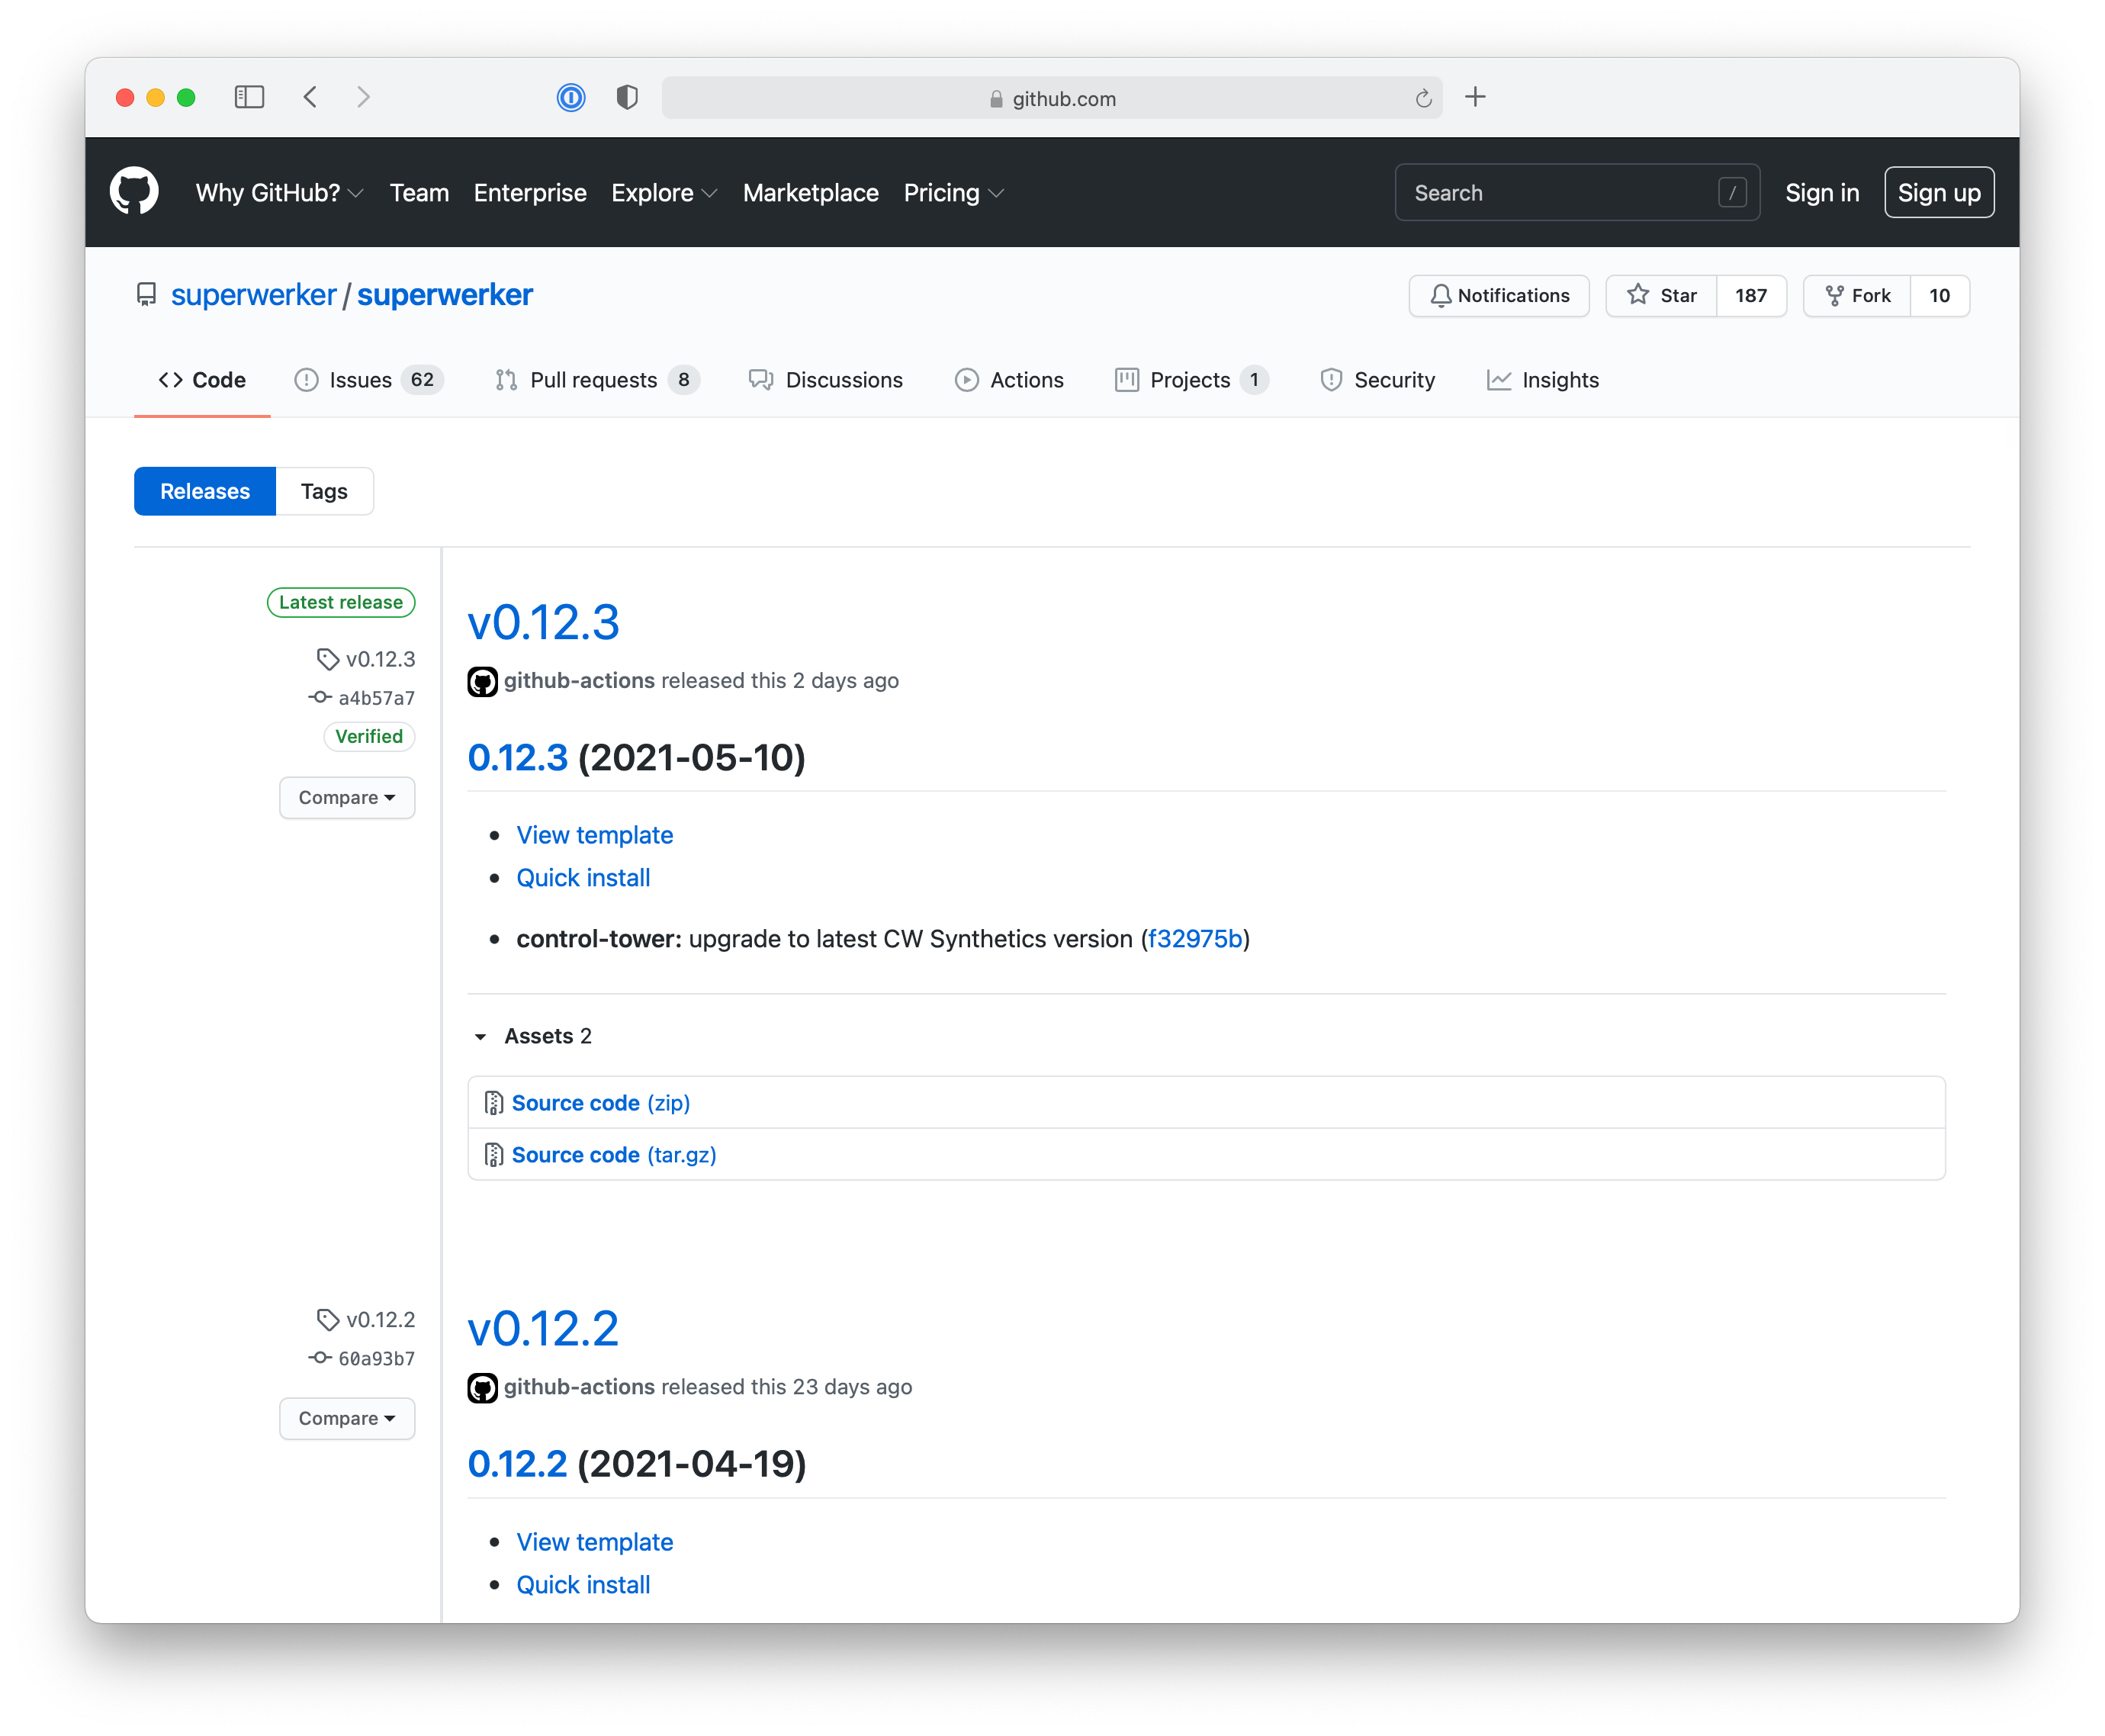
- Access the GitHub releases for superwerker
- Click on Quick install for the latest version of superwerker.
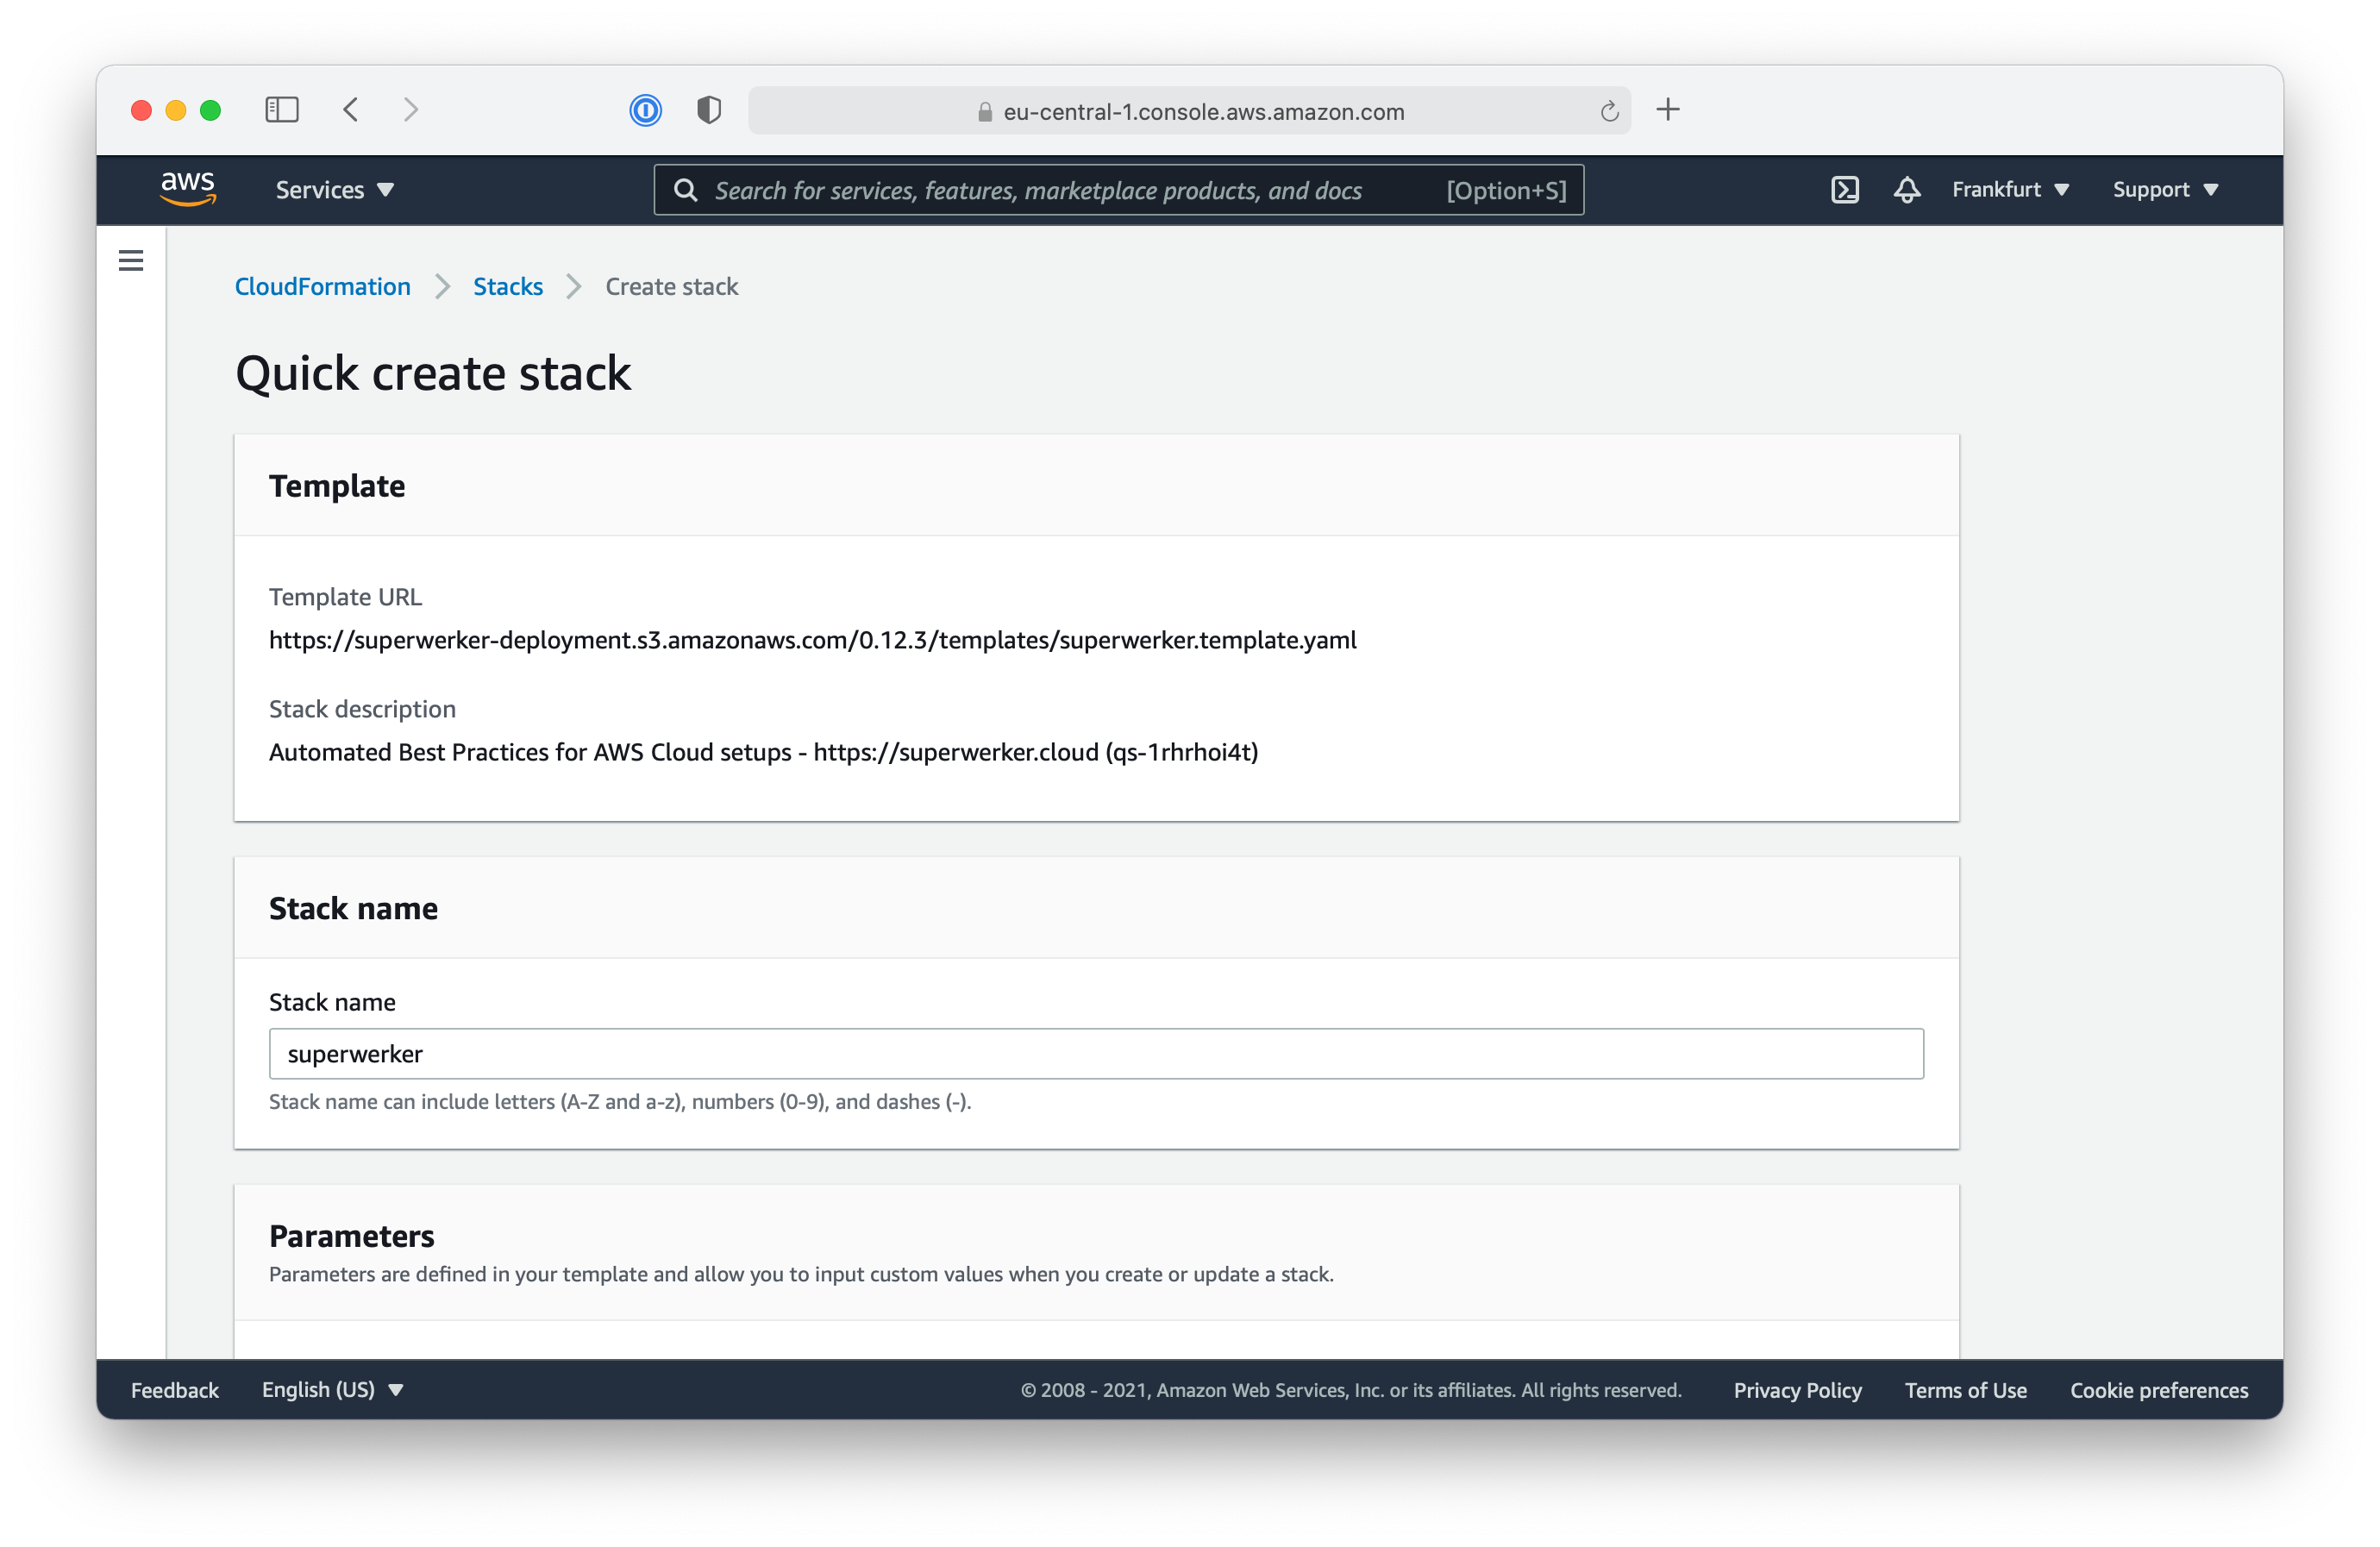
After clicking on the Quick Install link on GitHub, you will be redirected to the AWS Management Console to deploy the CloudFormation template for superwerker.
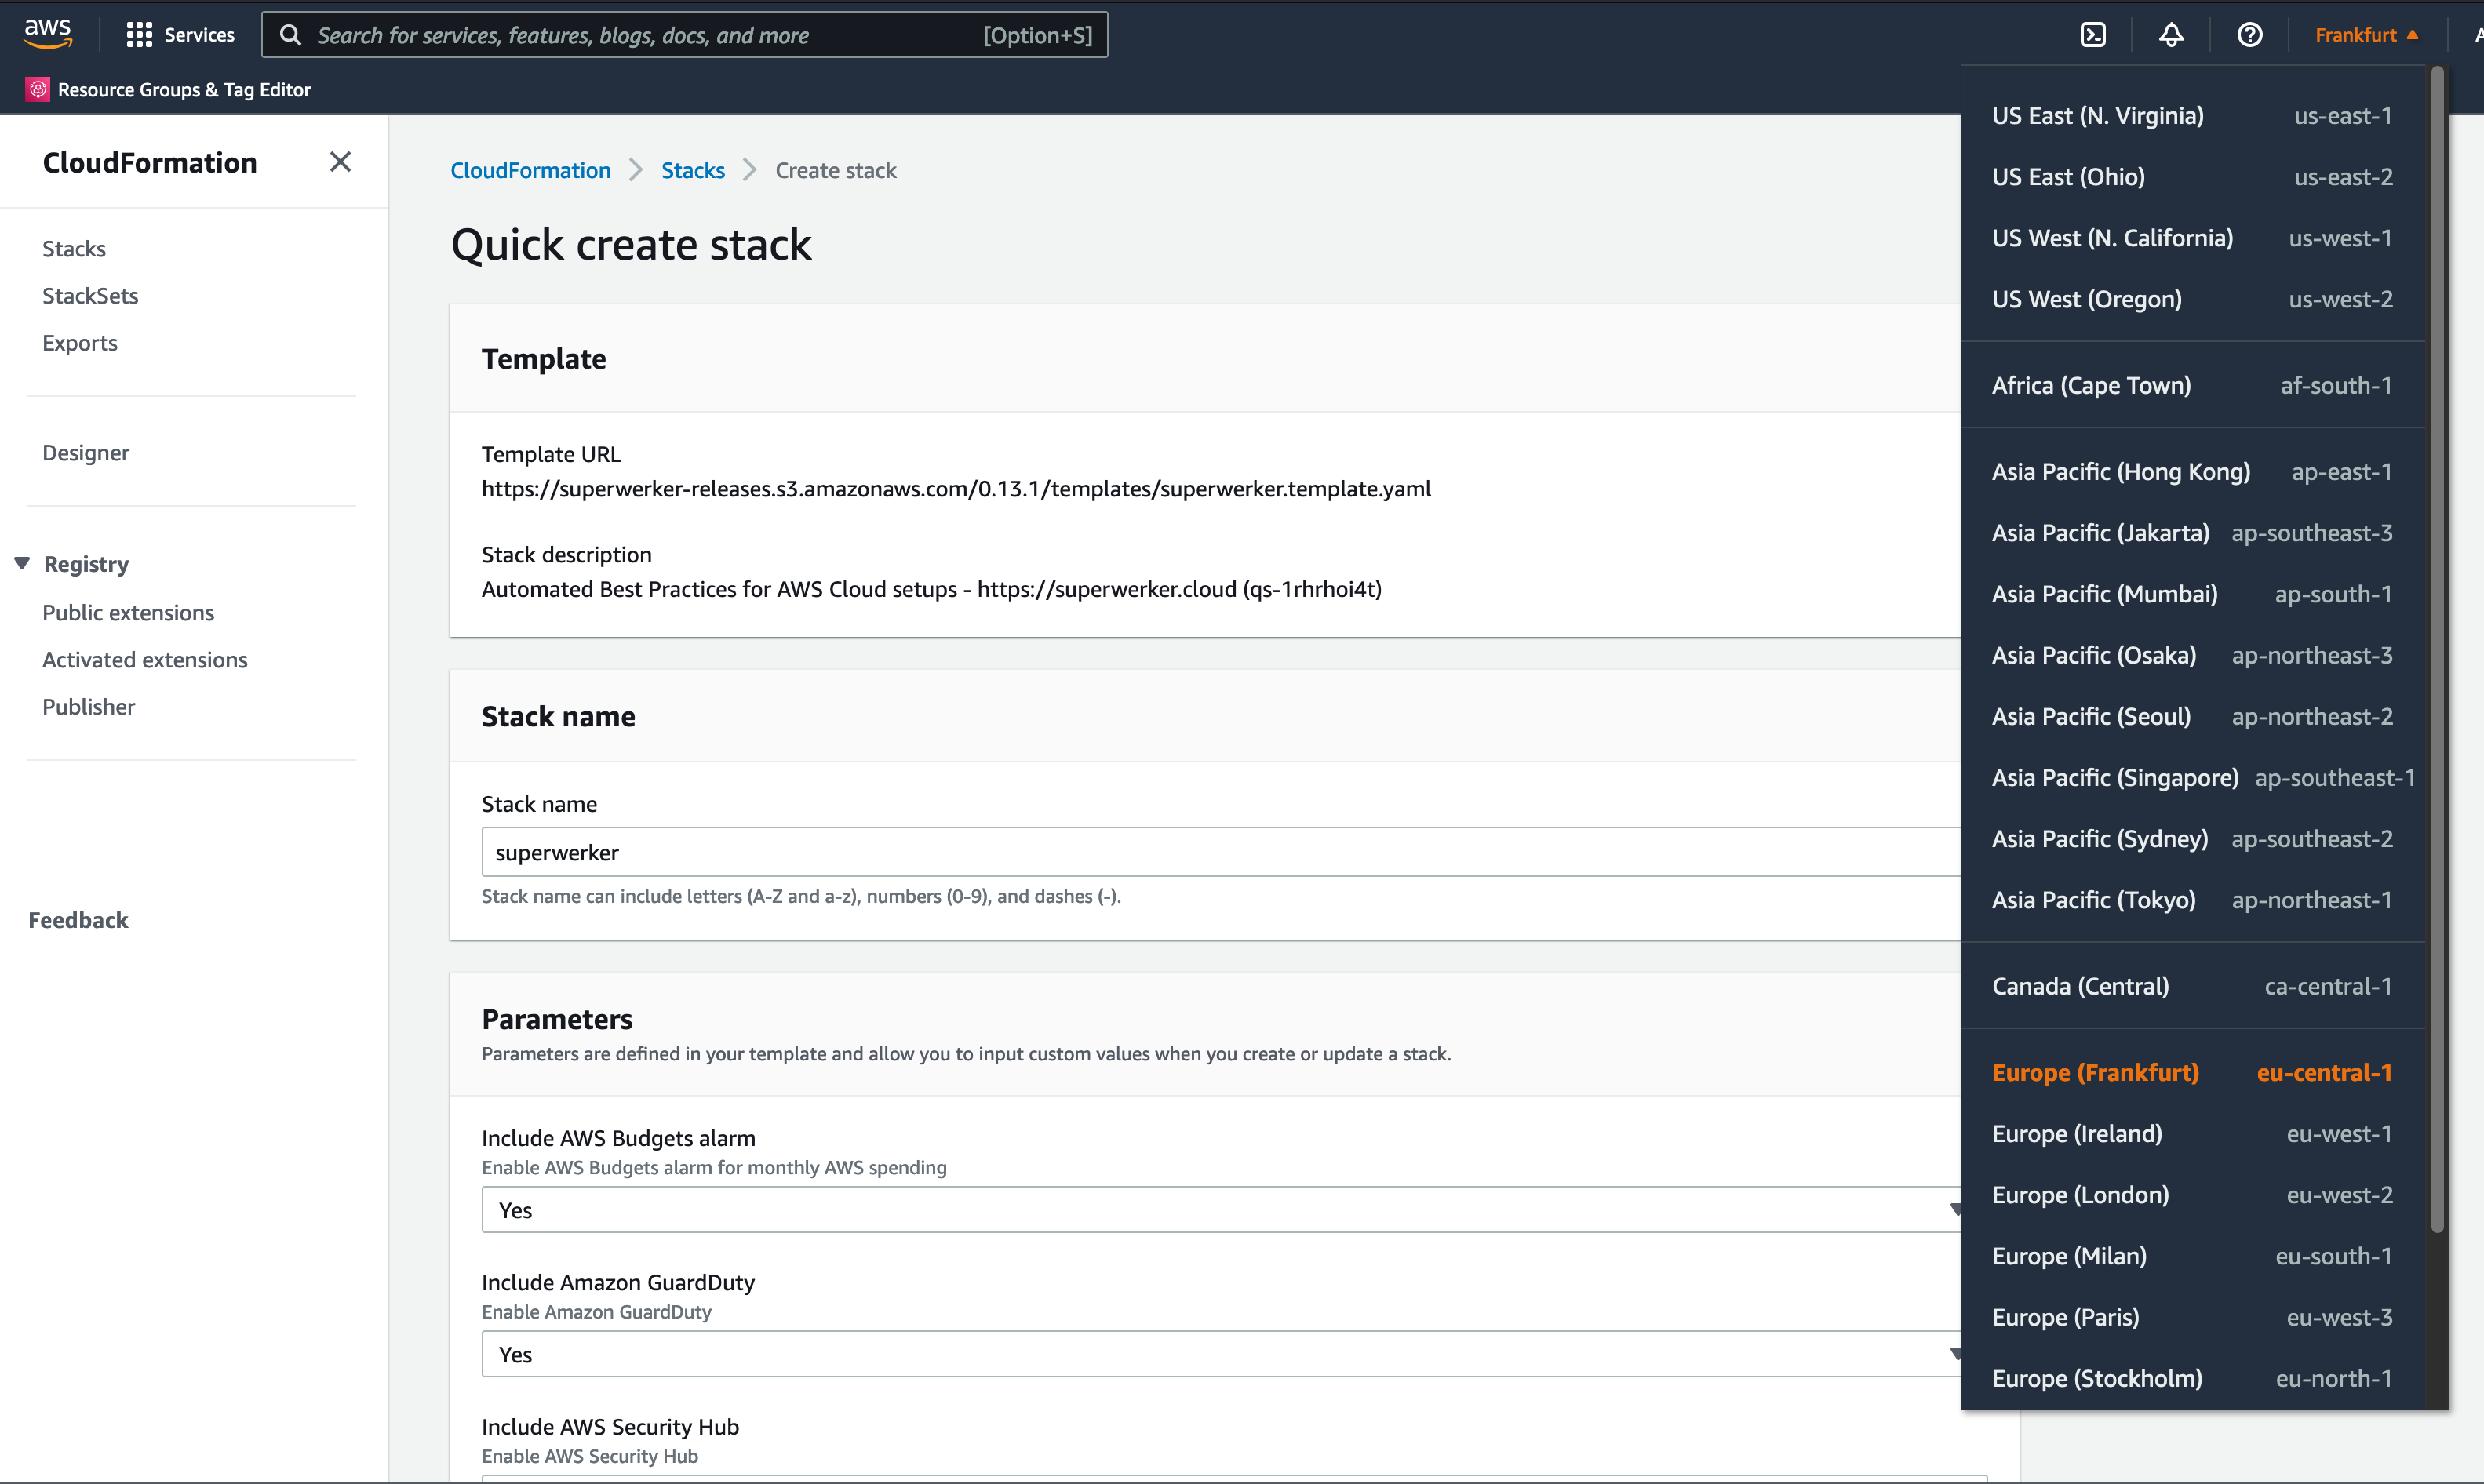
- Select the AWS region in which you want to deploy superwerker. superwerker relies on AWS Control Tower, which means you must choose an AWS region in which the service is available. At the time of writing, AWS Control Tower is available in: Canada (Central), Europe (Frankfurt), Europe (London), Europe (Stockholm), Asia Pacific (Singapore), US East (N. Virginia), US East (Ohio), US West (Oregon), Europe (Ireland), and Asia Pacific (Sydney).
AWS CloudFormation
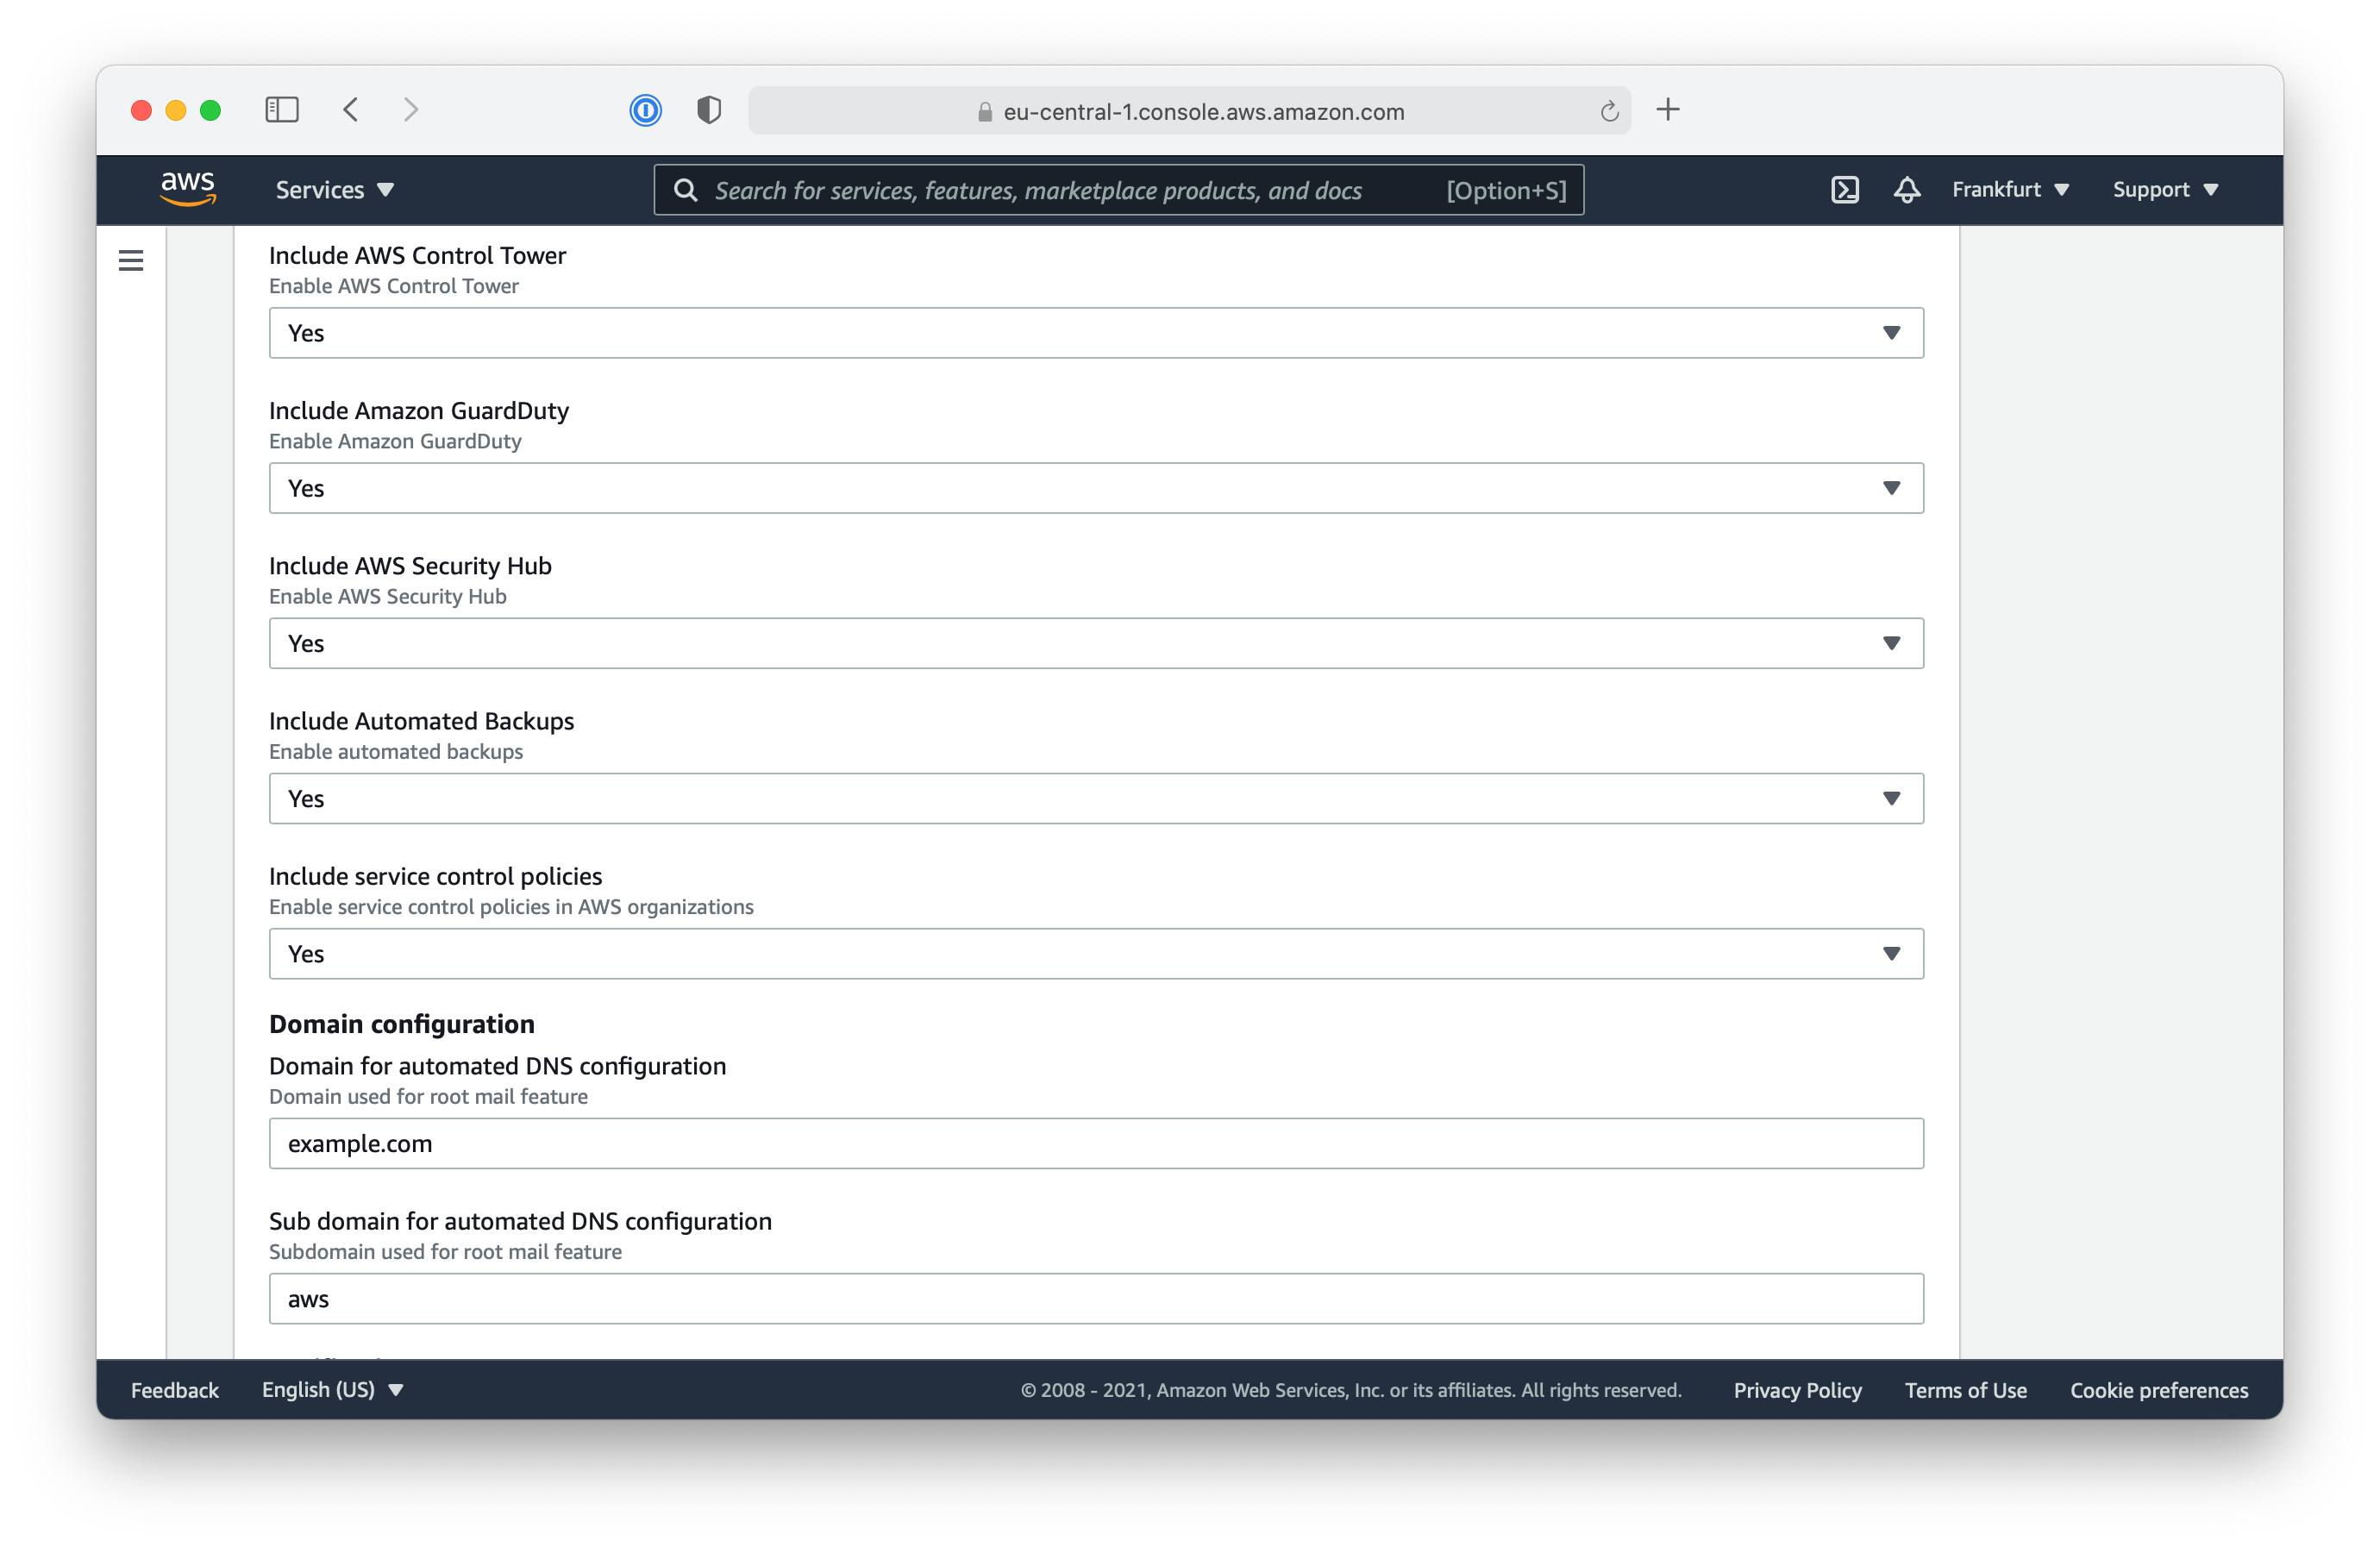
The CloudFormation template for superwerker supports disabling of optional components; but for this workshop, please keep all components enabled.
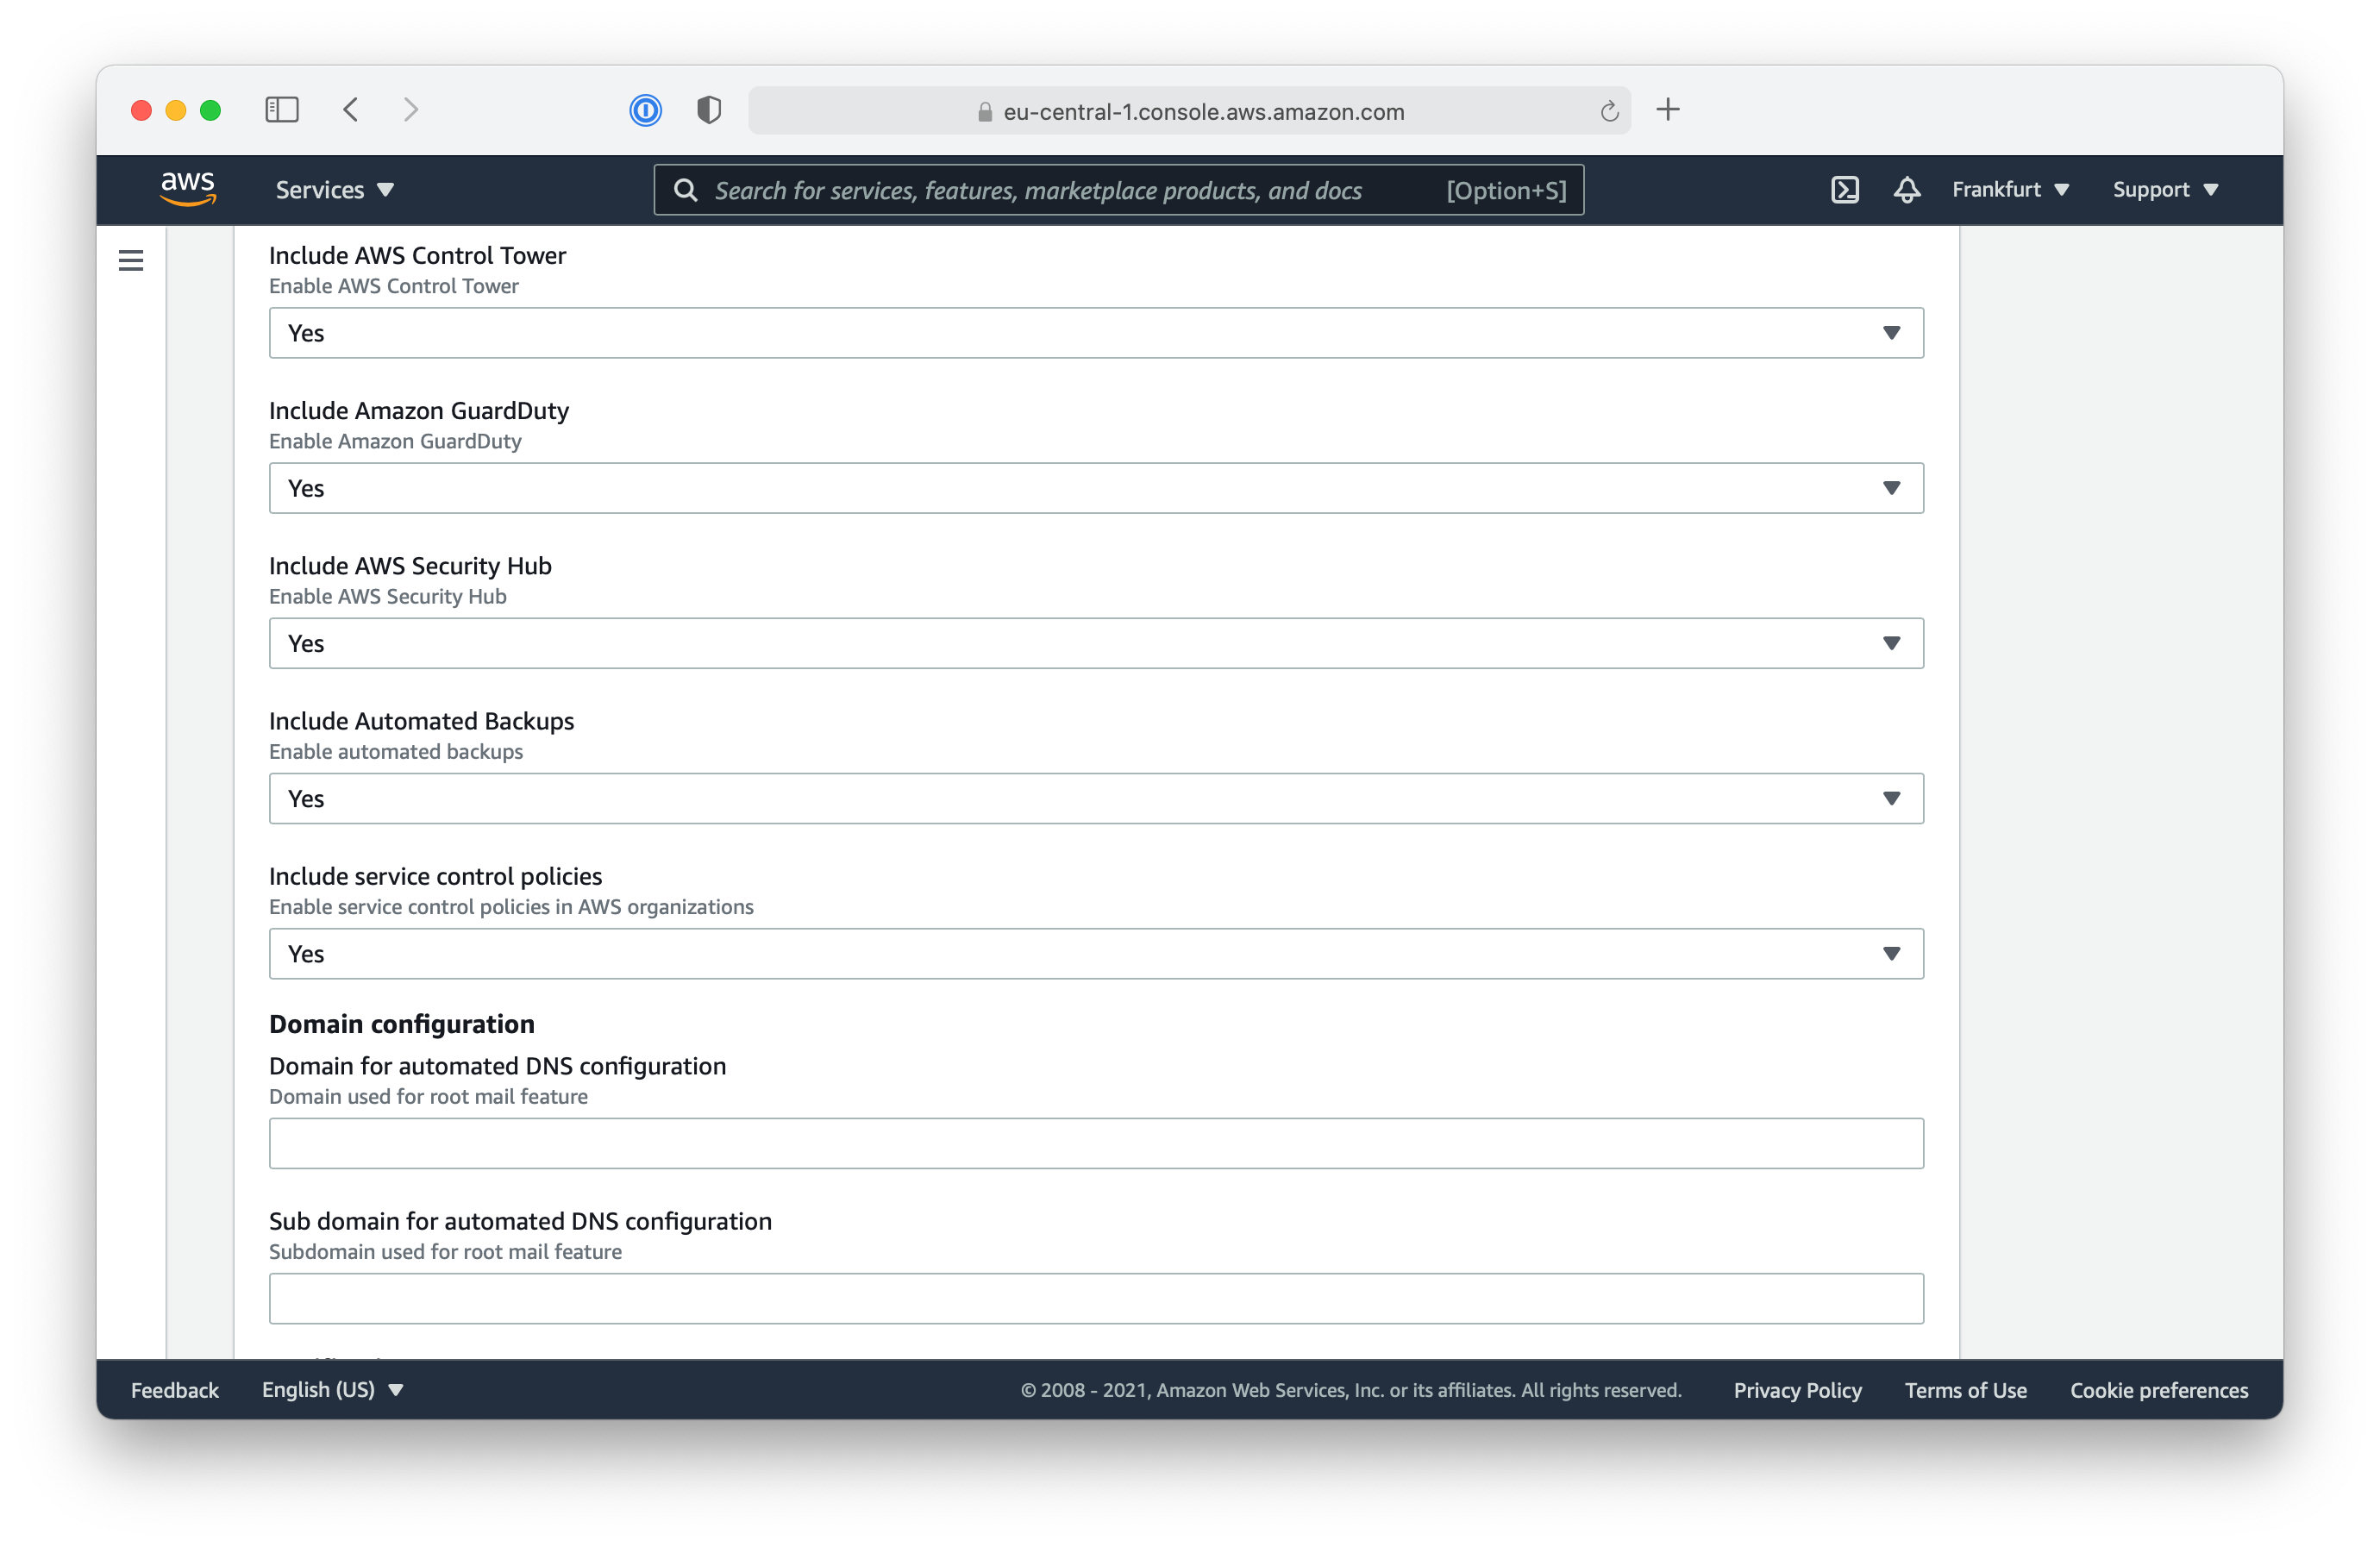
The only important configurations for this workshop are the domain name and sub domain. For a fundamental feature of superwerker, called RootMail, you need to have a dedicated sub domain you can use with superwerker.
Note: If you choose to register a new domain through Route53 you can use the step-by-step guide from AWS.
If your company’s primary domain is example.com you can consider a domain like aws.example.com to use with superwerker. The DNS configuration is split up into two input fields: one for the domain, and one for the intended sub domain.
Warning: Please ensure you have access to the DNS configuration of your configured domain! Without the needed settings, you cannot continue this workshop and the installation of superwerker!
- Fill in the Domain for automated DNS configuration (see the screenshot below)
- Scroll down to the bottom of the page and tick the boxes acknowledging that CloudFormation will create IAM resources such as IAM Roles and IAM Policies
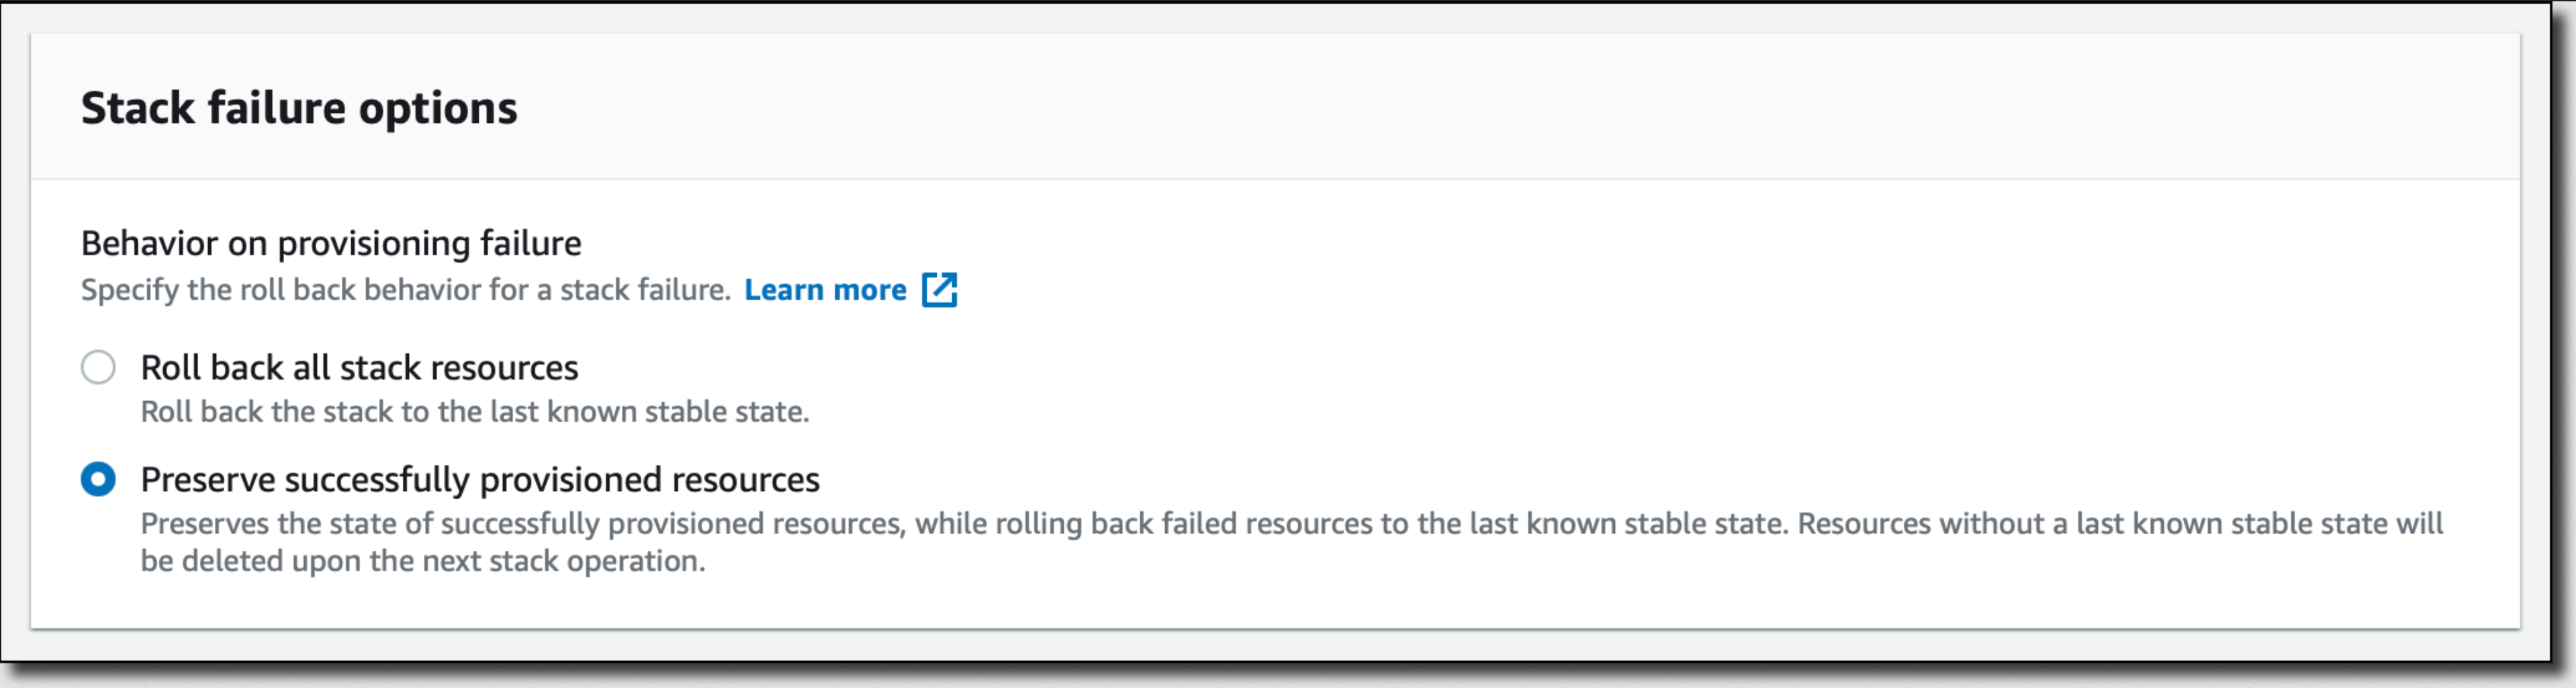
- Click “Create changeset” (creating a changeset allows us to access stack failure options that are not available if we were to select ‘create stack’)
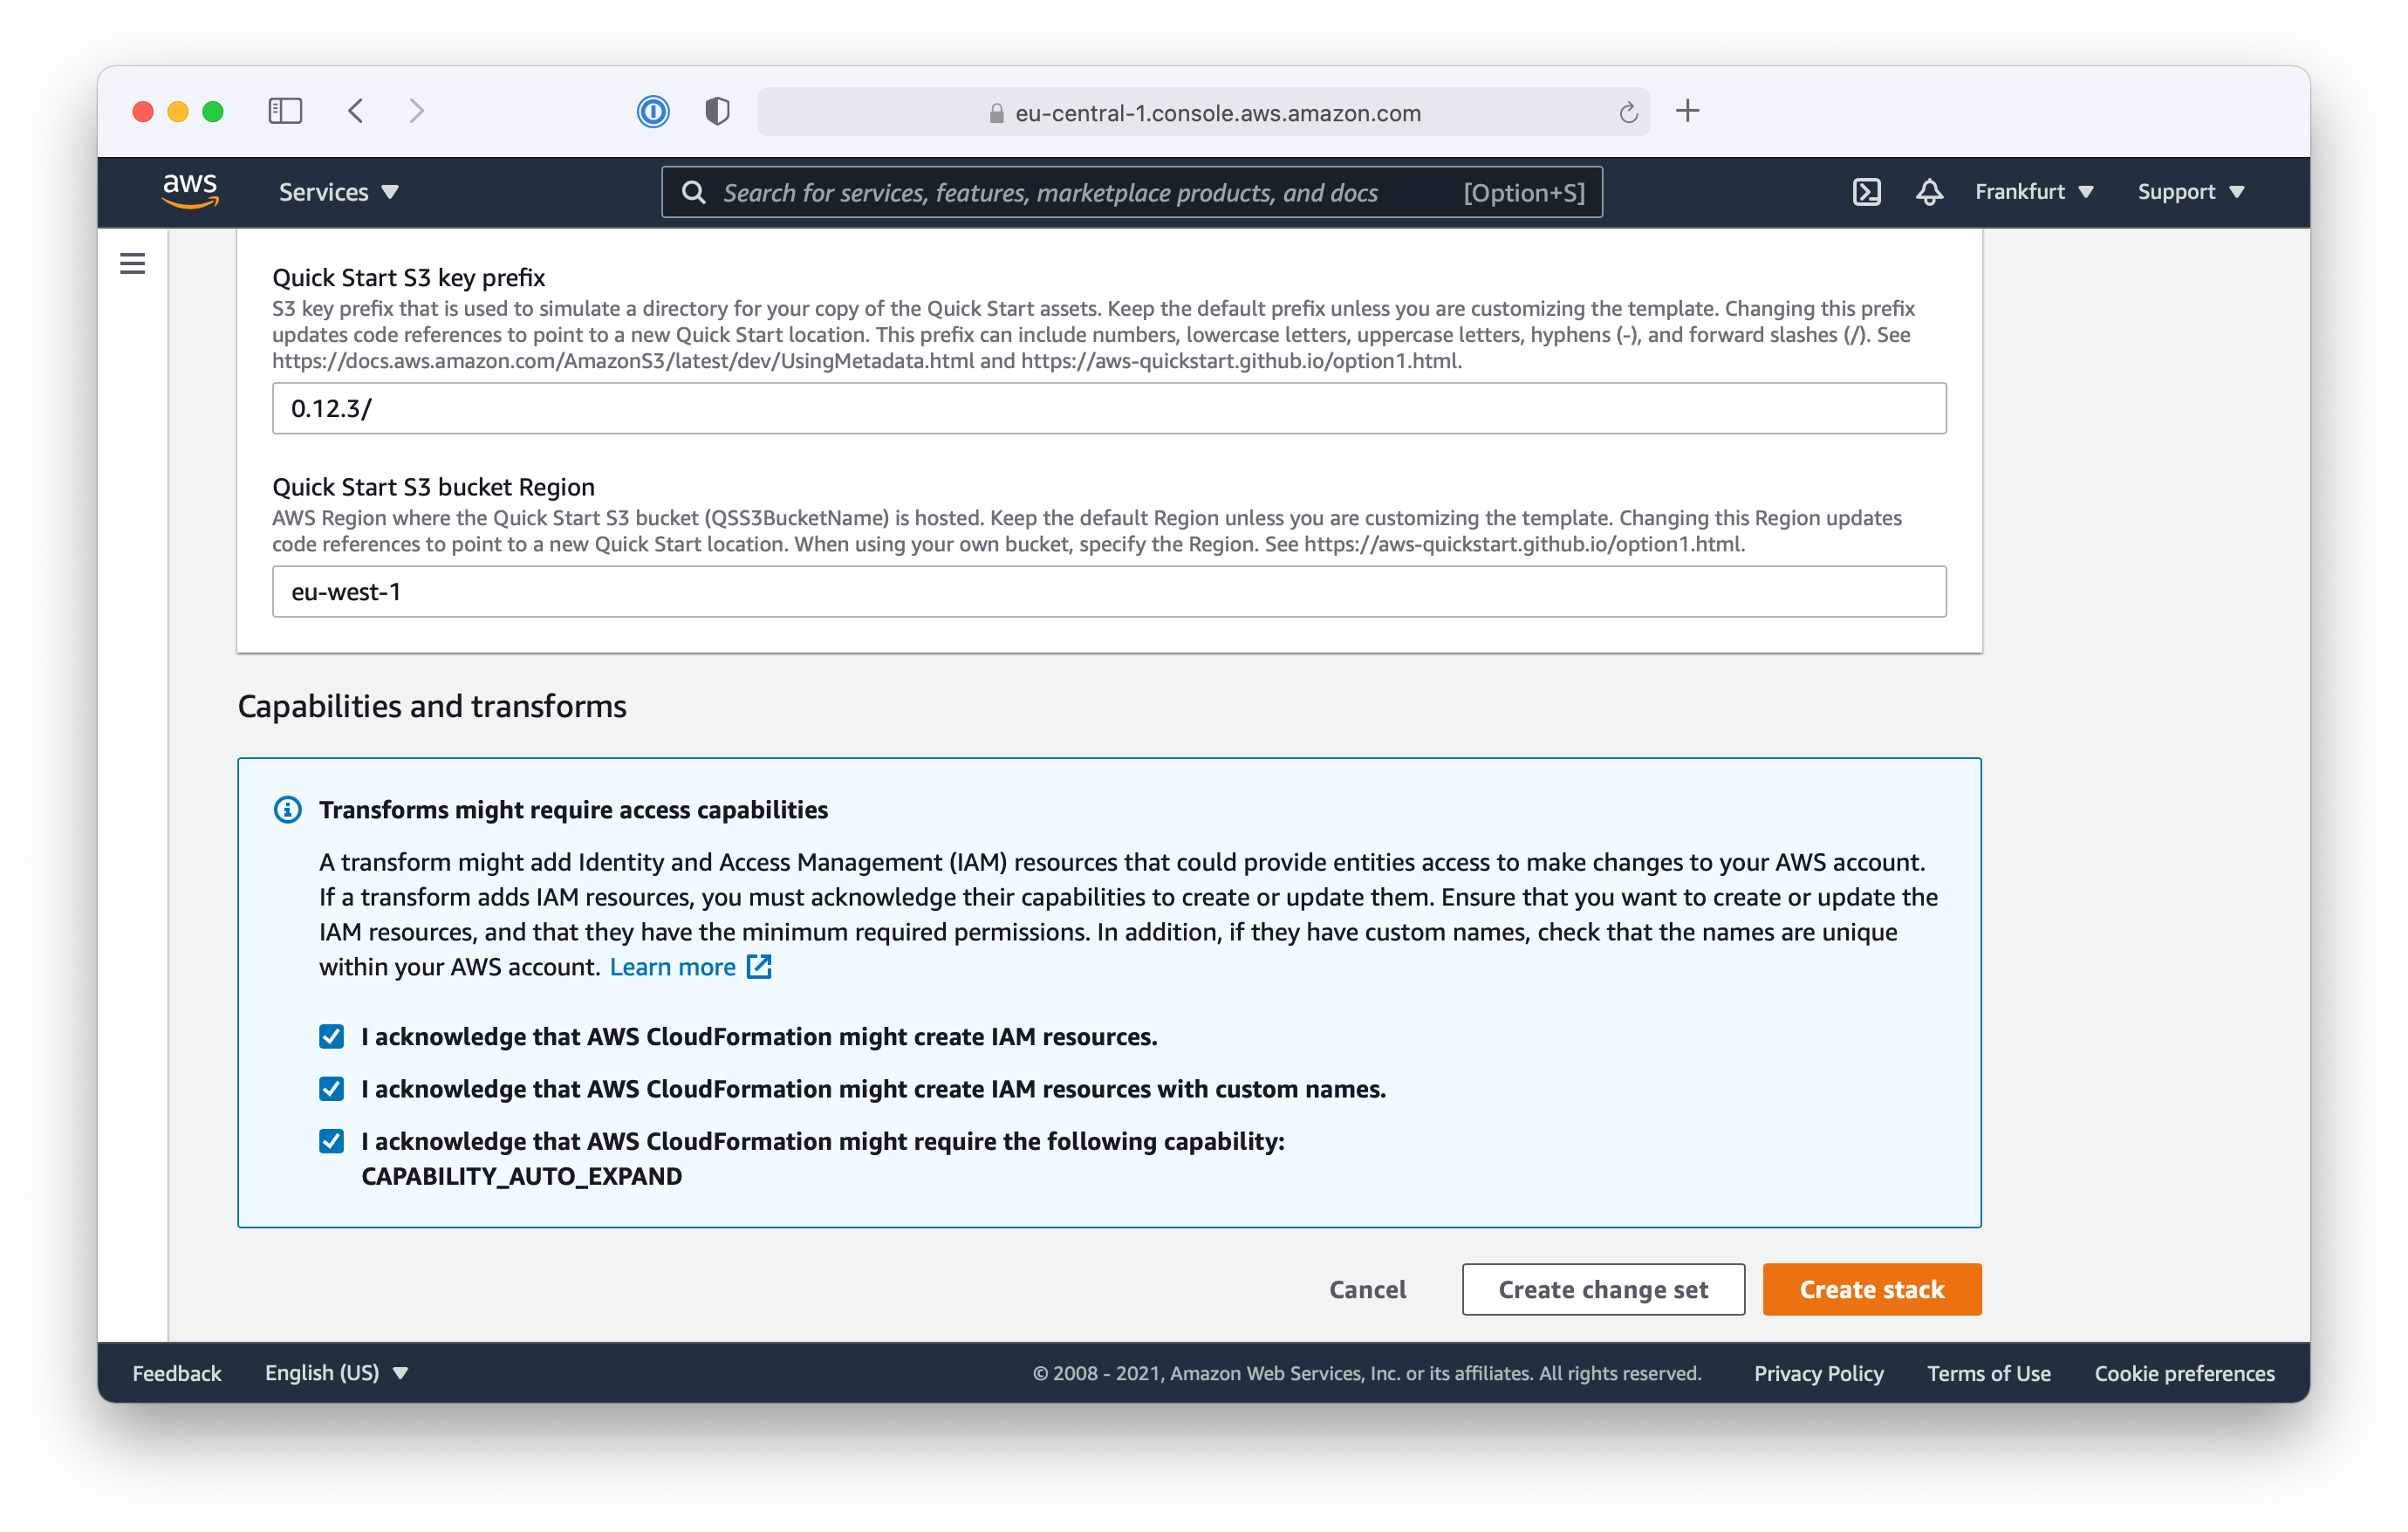
- Choose disable “Change sets for nested stacks”
- Click “Create changeset”
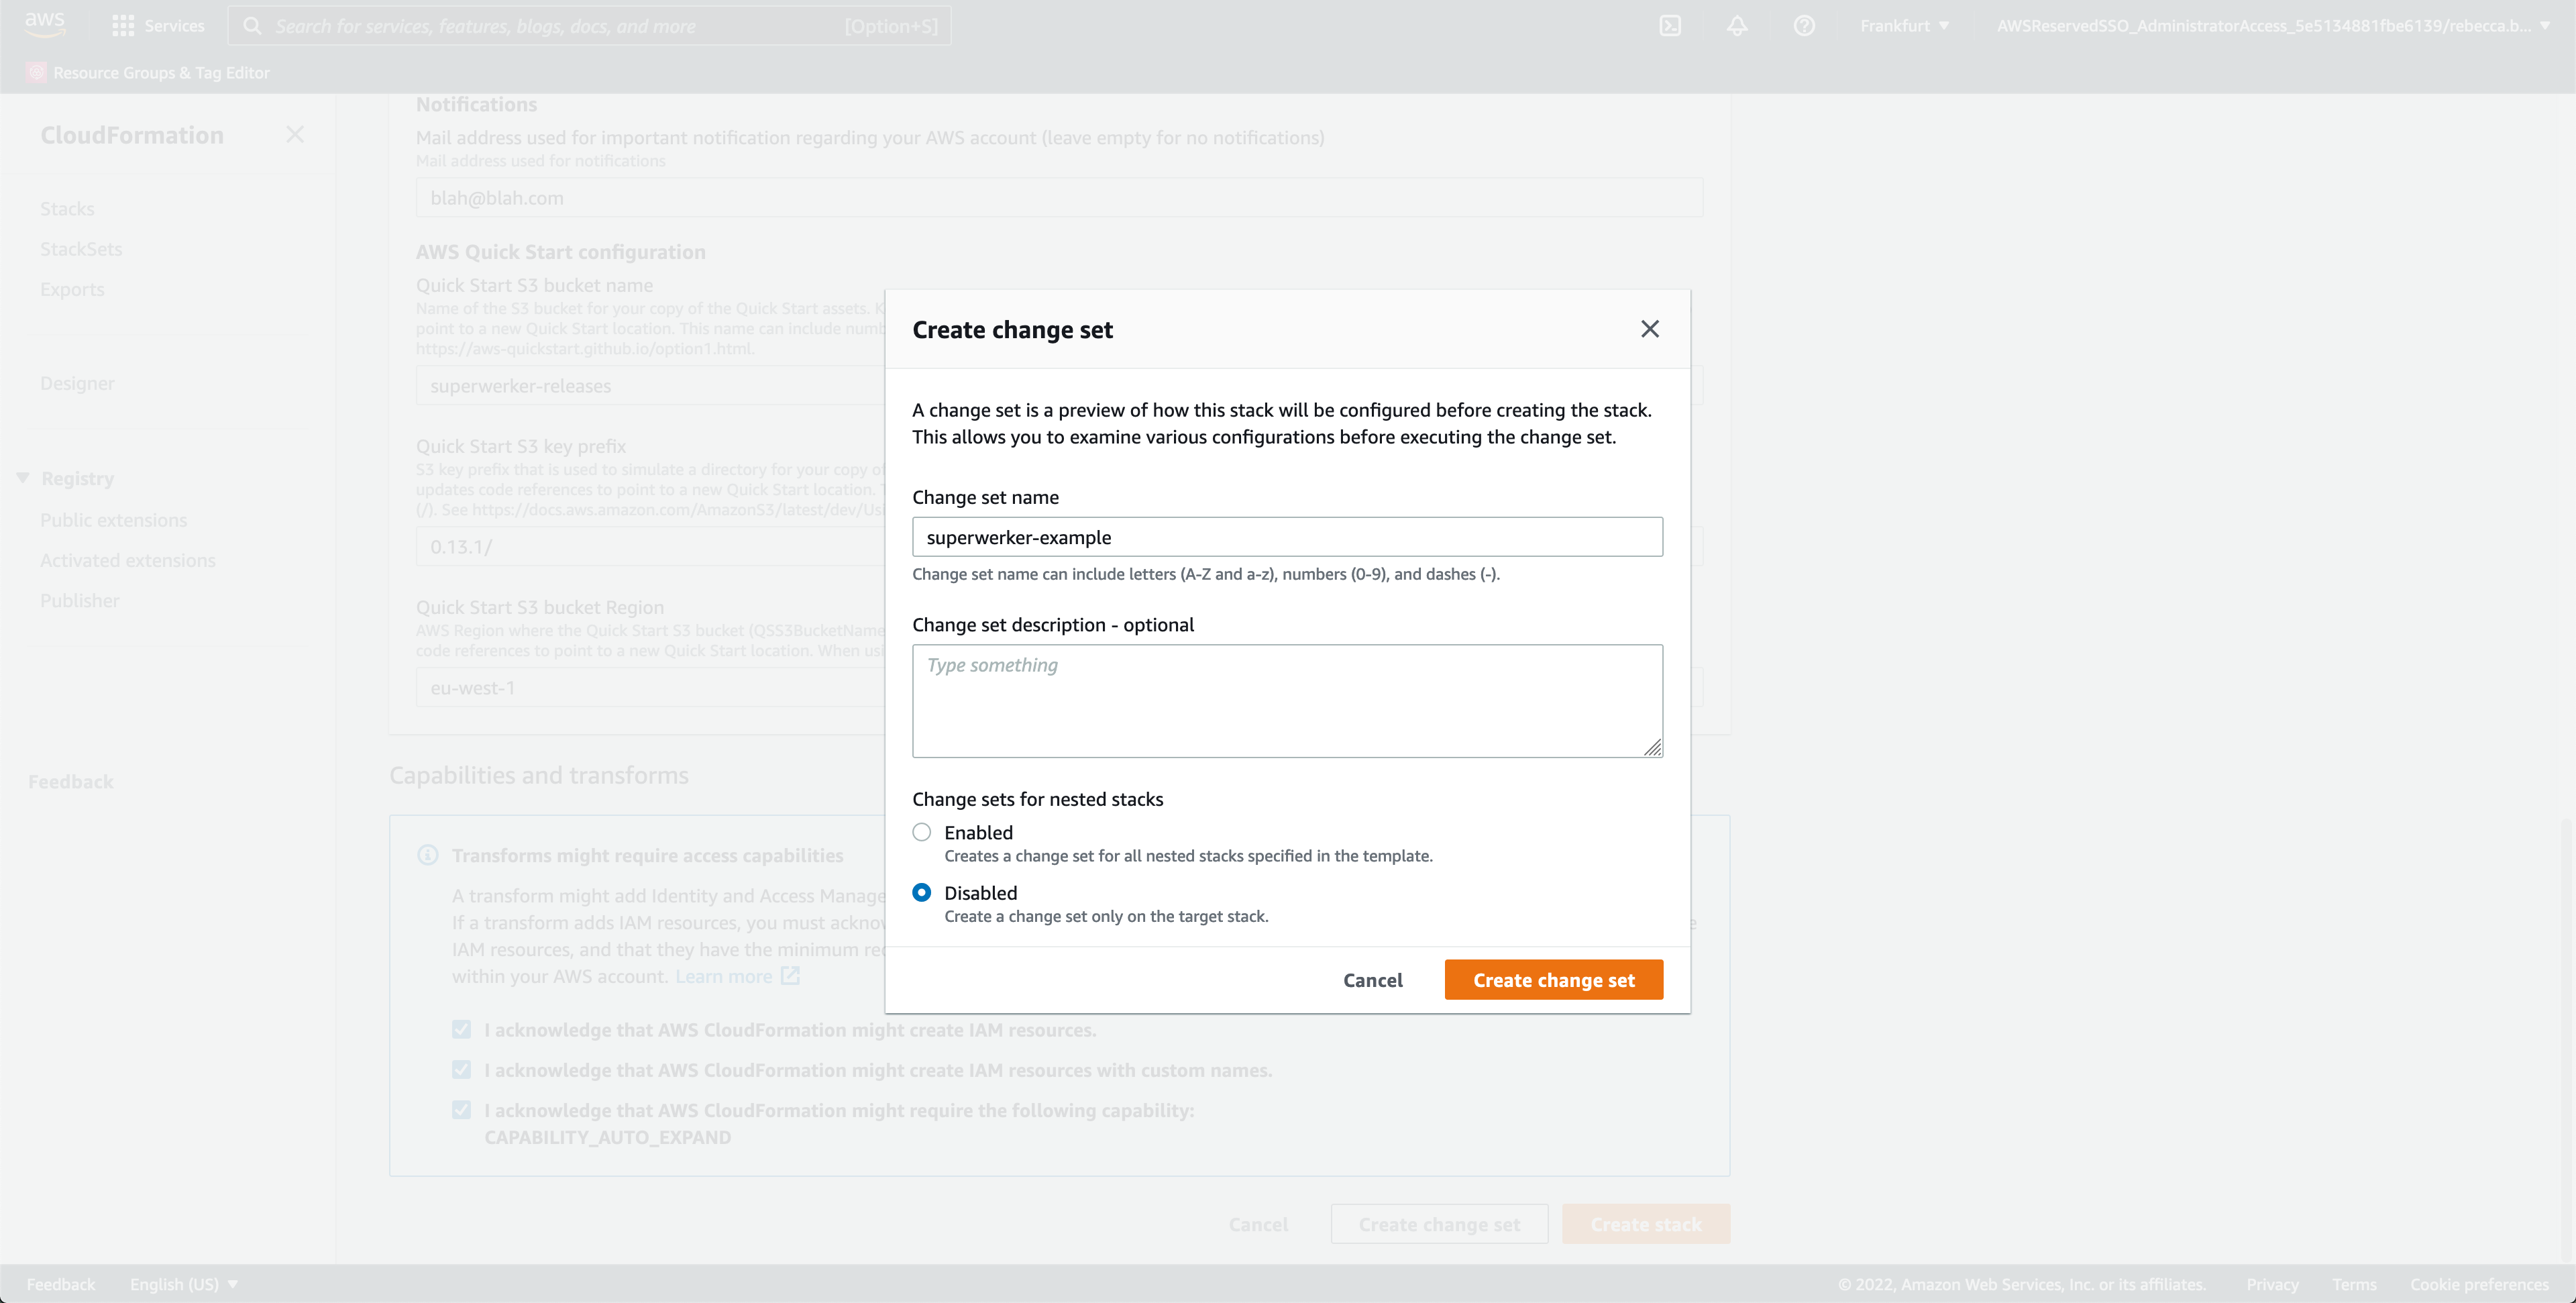
- Wait for the changeset to become ready then press “Execute”

- Choose “Preserve successfully provisioned resources” (this option protects against errors during stack rollouts, and allows continuing the rollout of superwerker even if errors occur during the installation).
Further reading: creating IAM Resources via CloudFormation see Acknowledging IAM resources in AWS CloudFormation templates.
DNS Configuration
During the installation process, superwerker creates a Route53 hosted zone for the domain and sub domain you configured prior to starting the installation process. Along with the hosted zone, Route53 created a set of nameservers to be used for your domain.
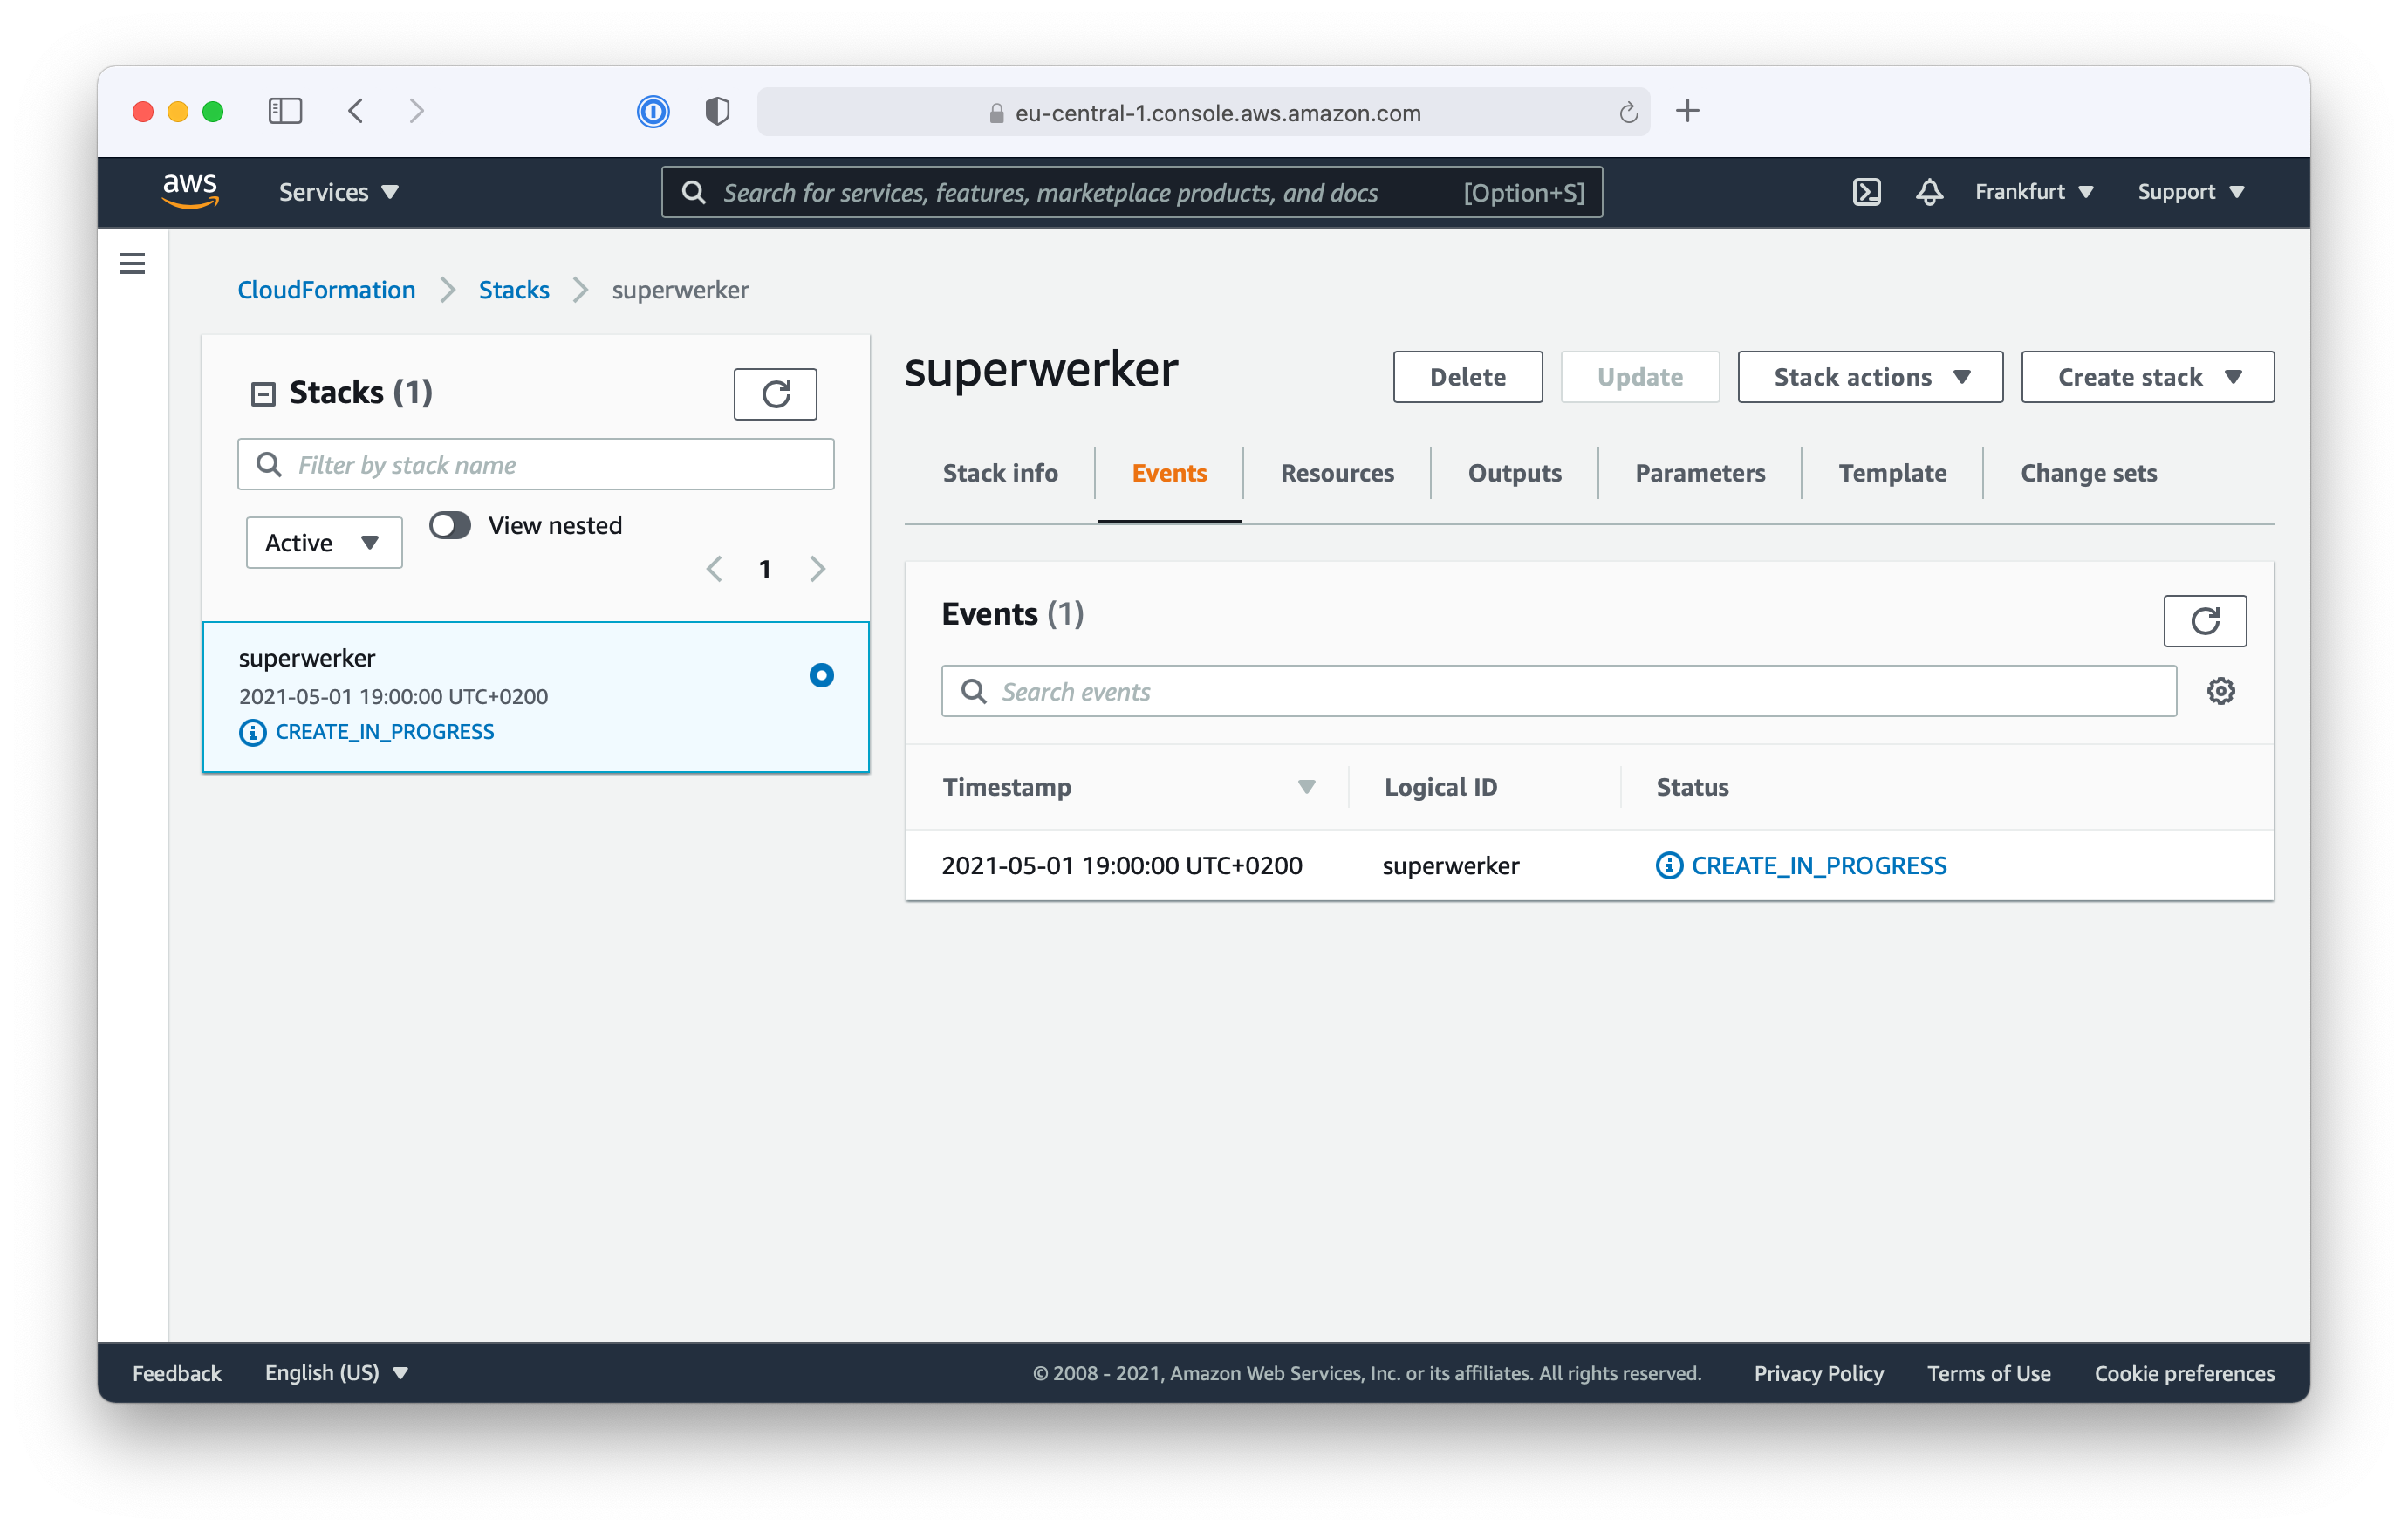
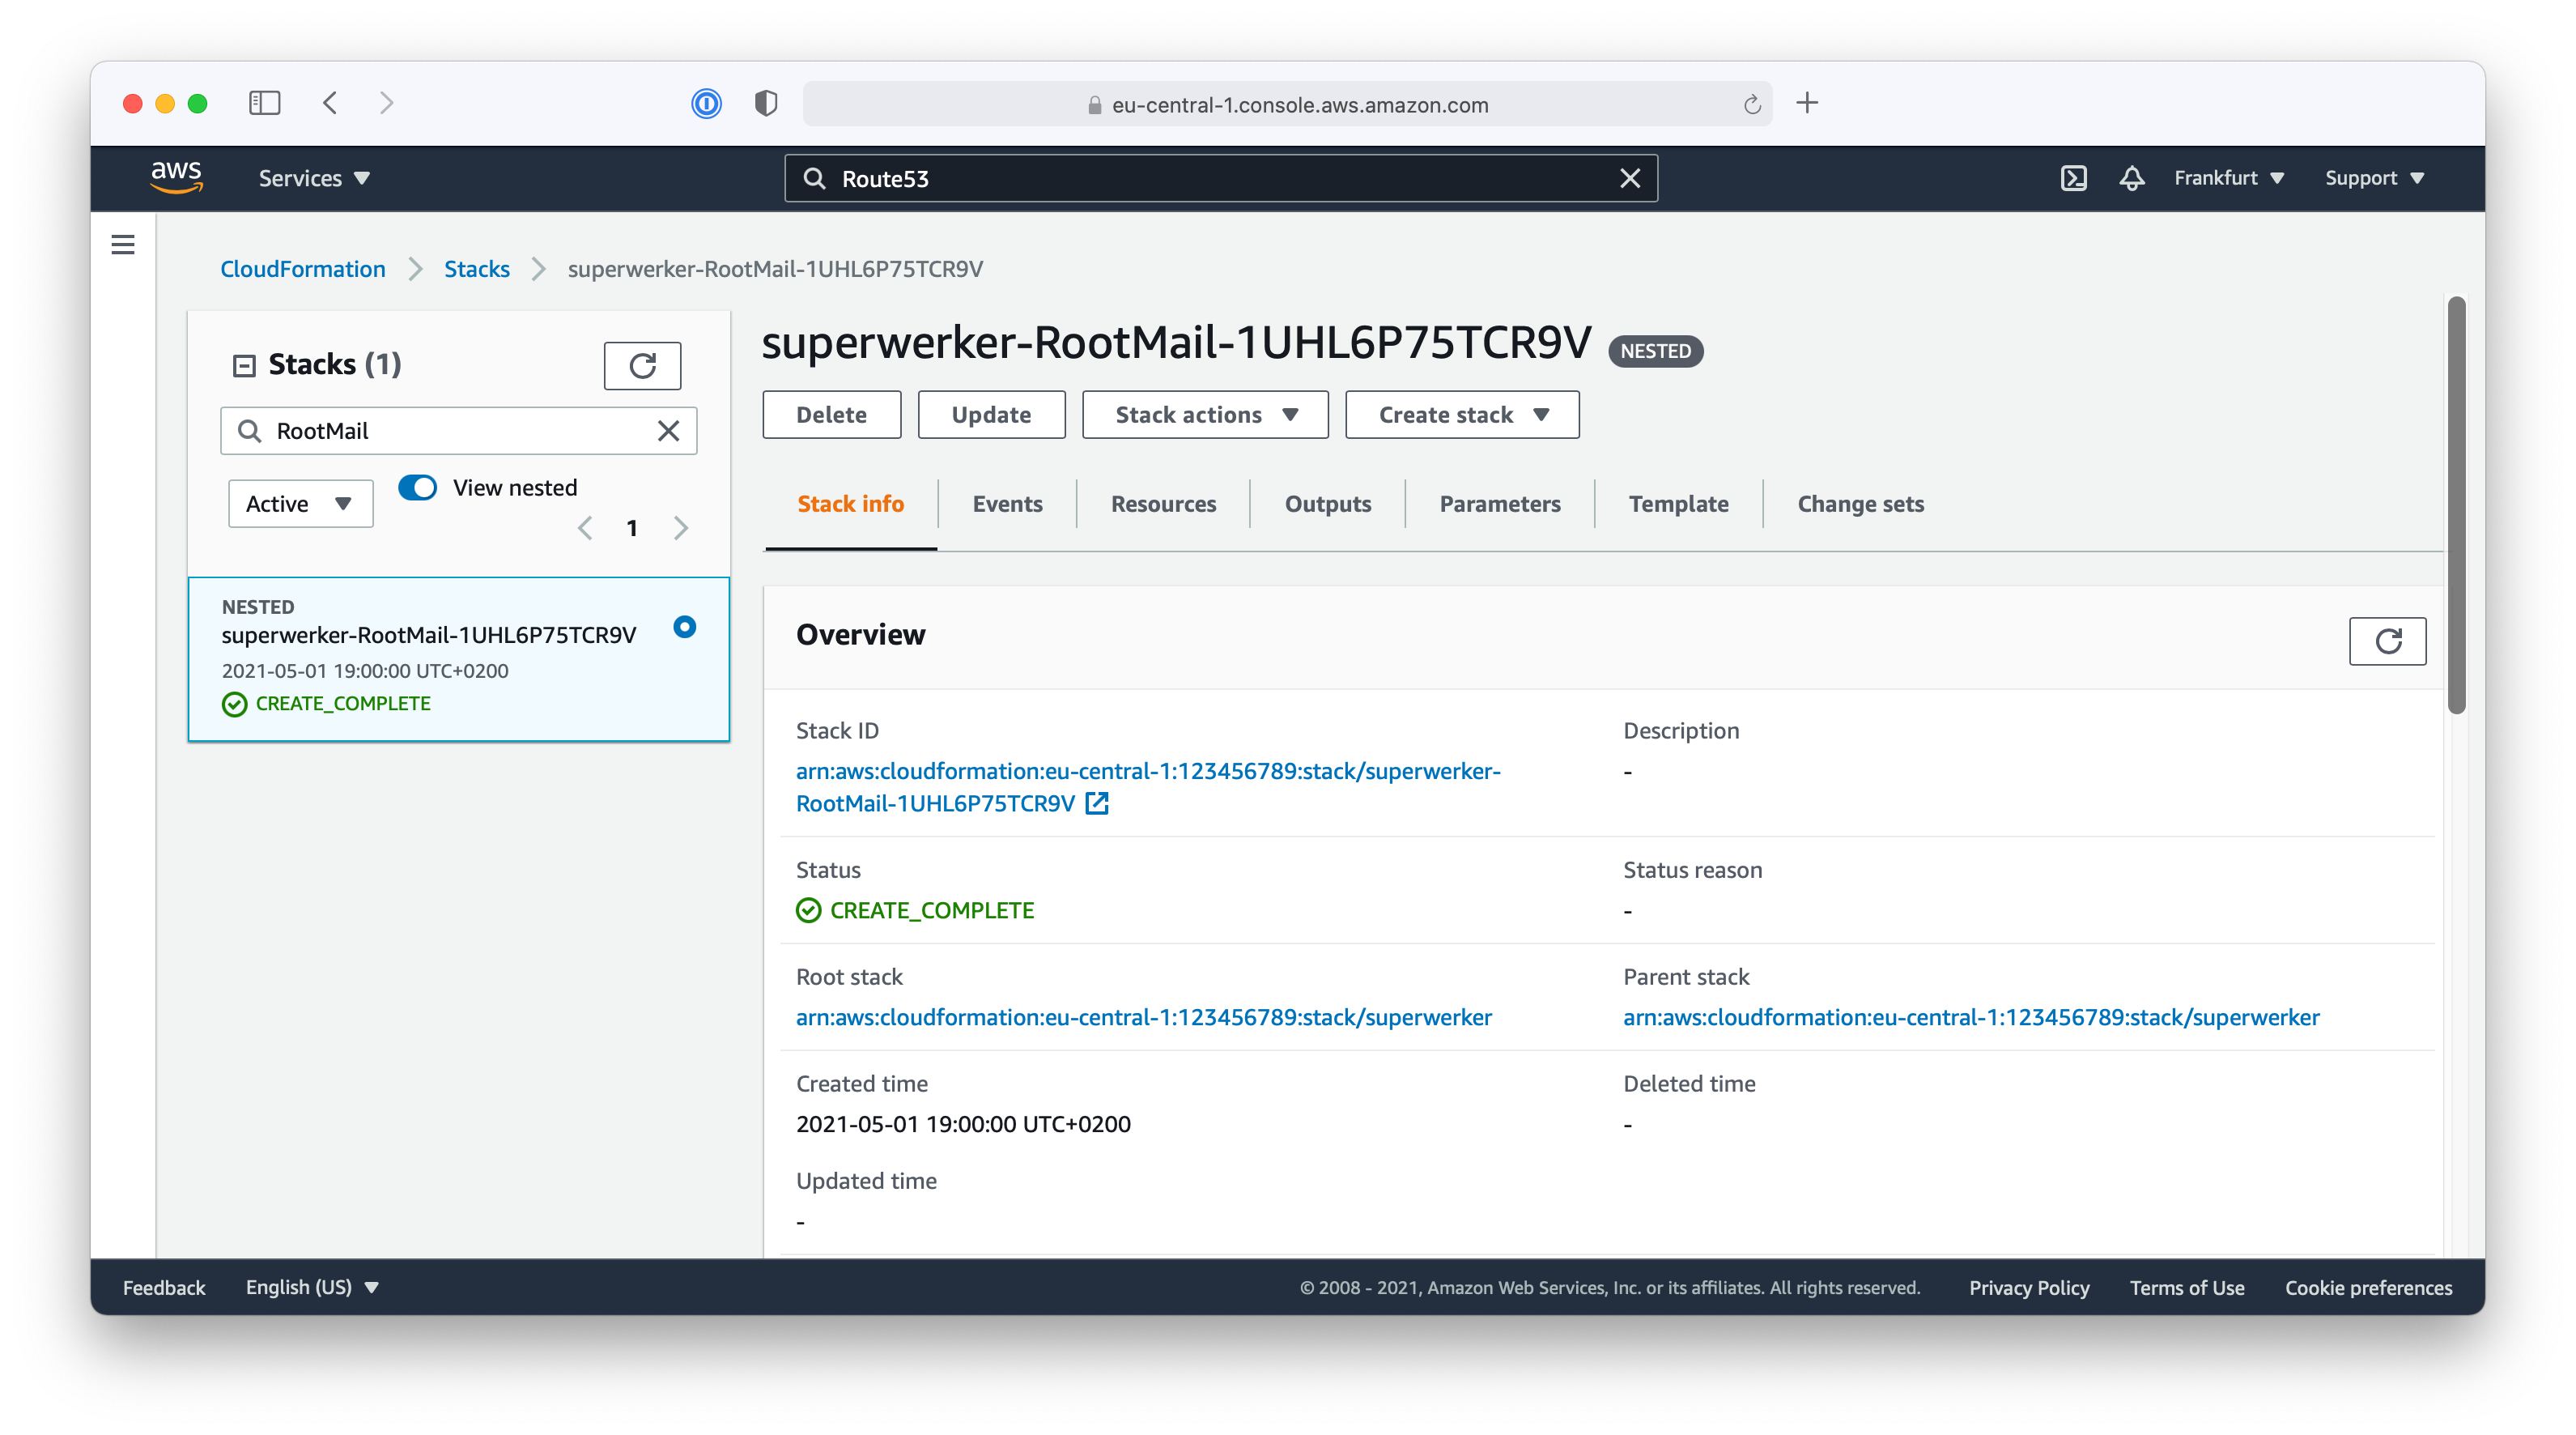
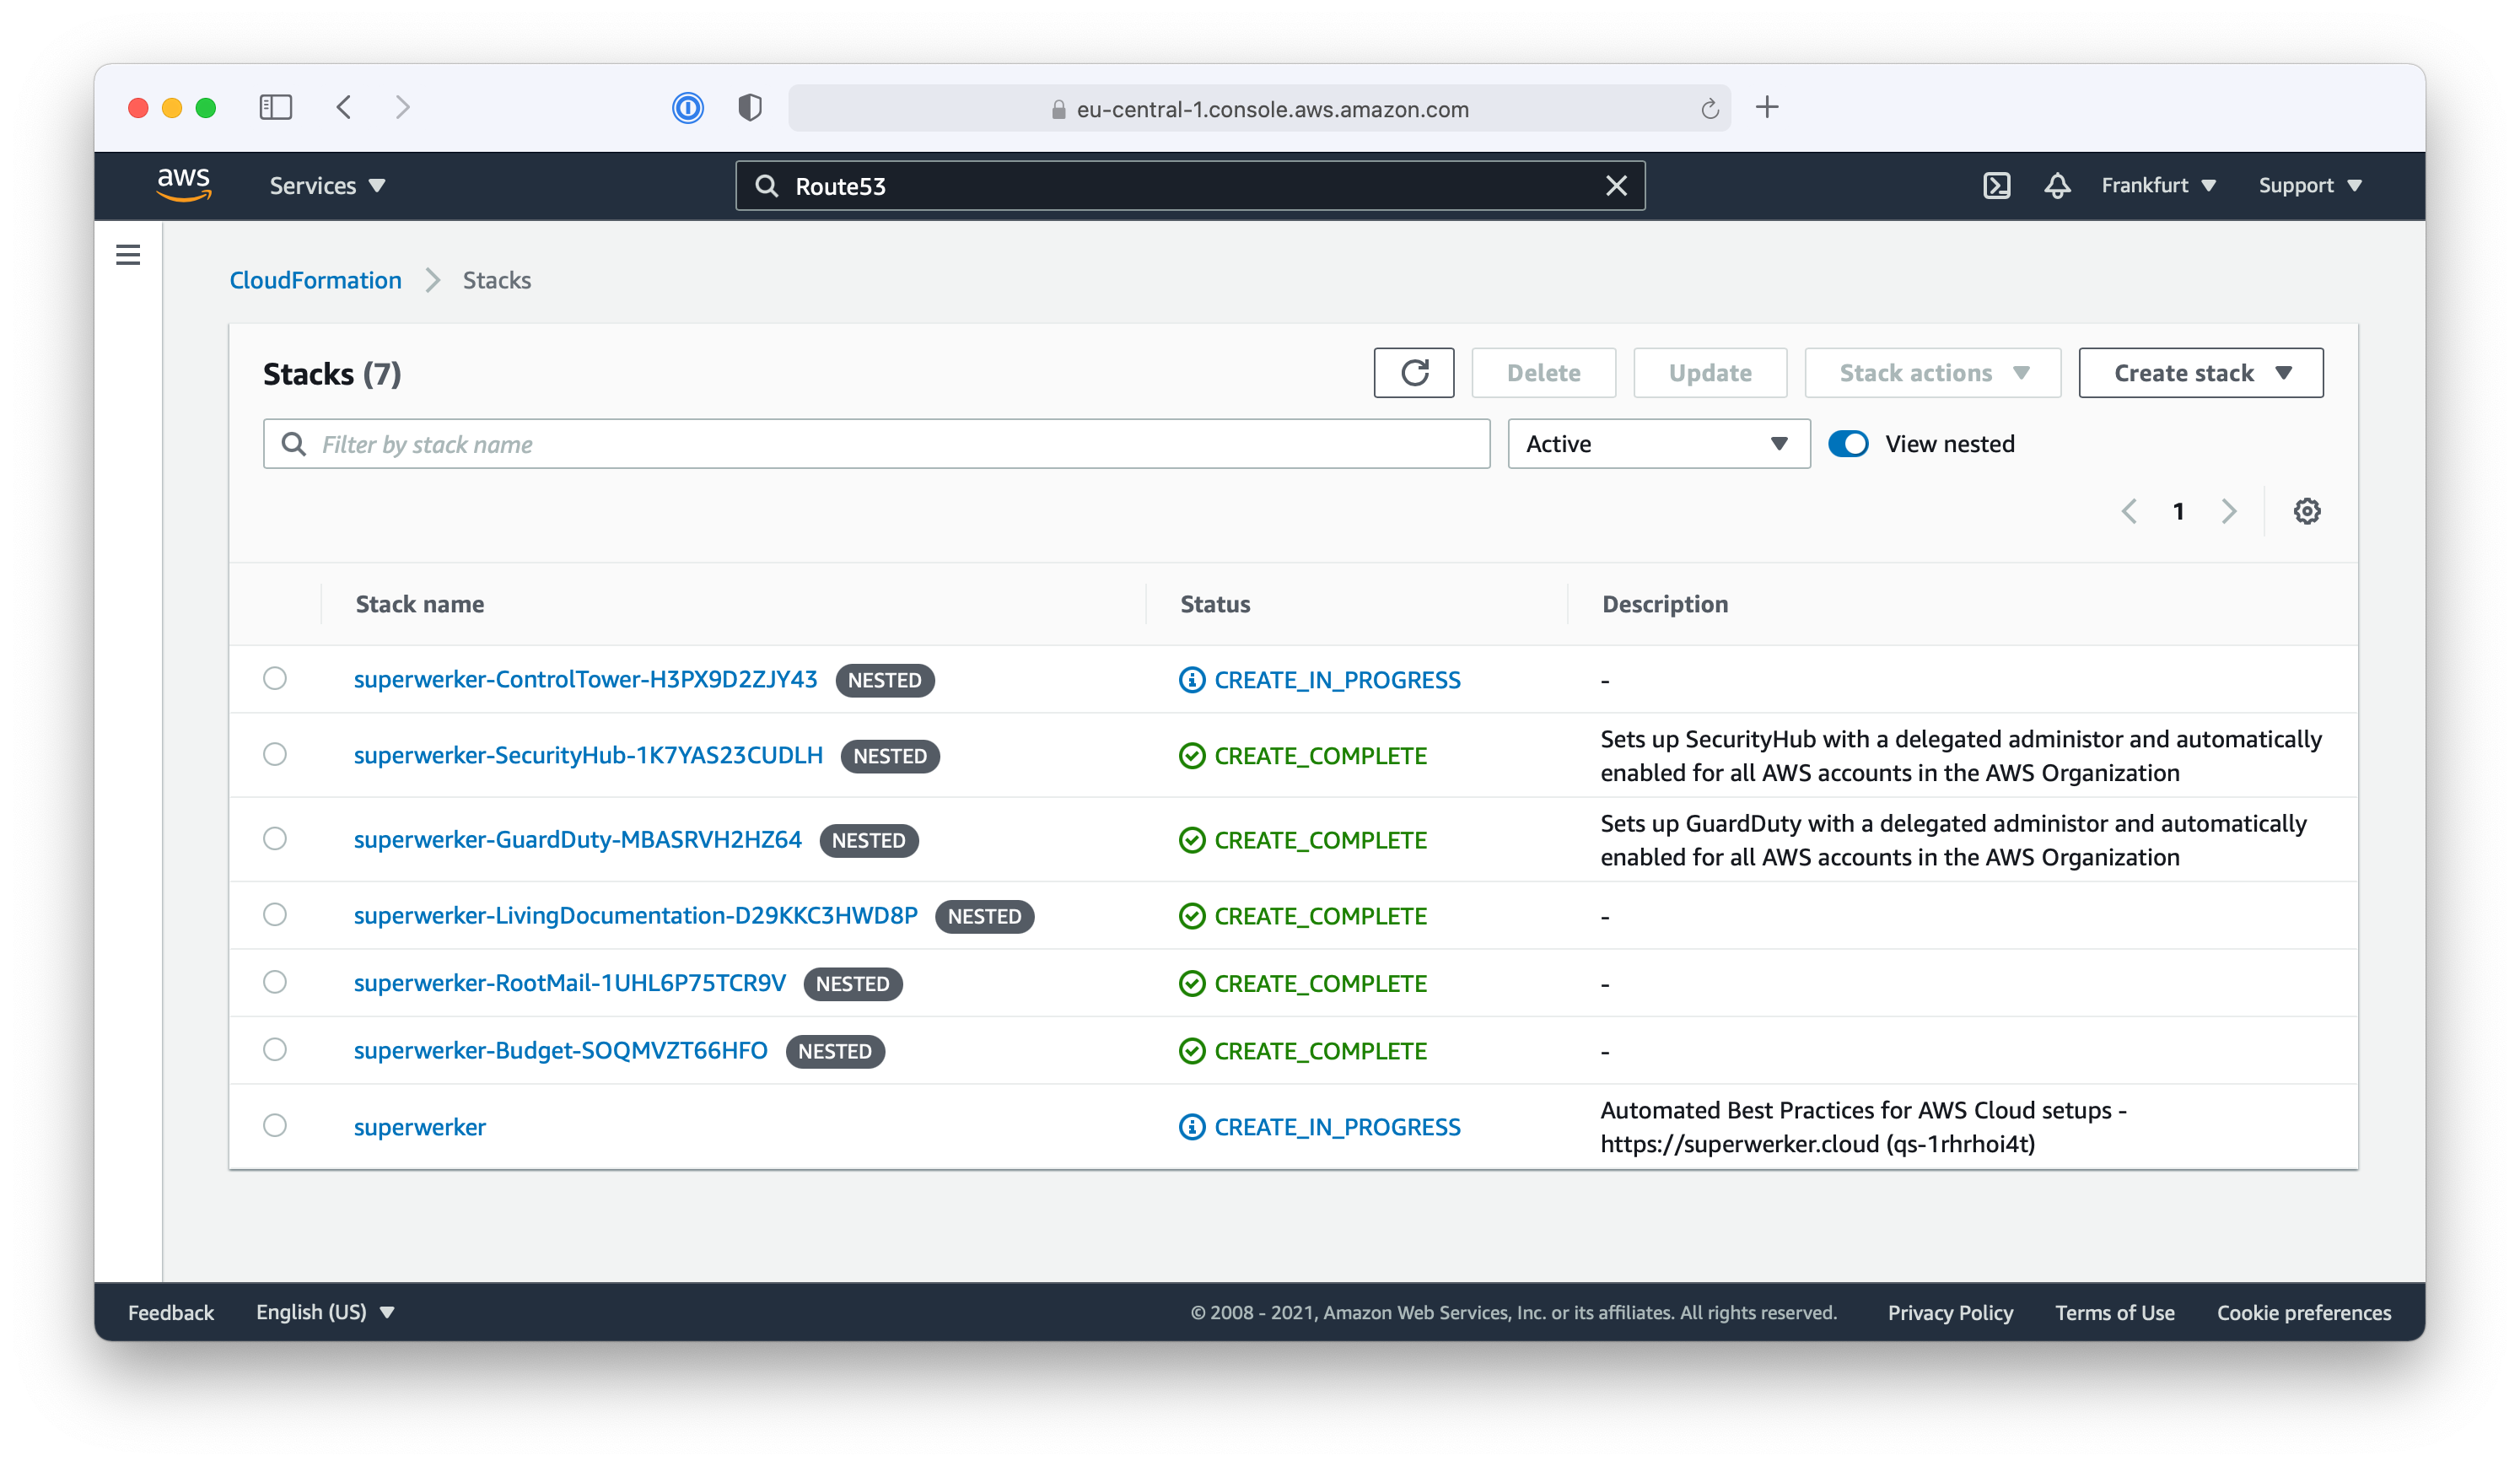
superwerker uses Nested CloudFormation Stacks to organize and bundle the included components. To figure out, if the needed Route53 resources have been created, check the status of the superwerker-RootMail stack in AWS CloudFormation.
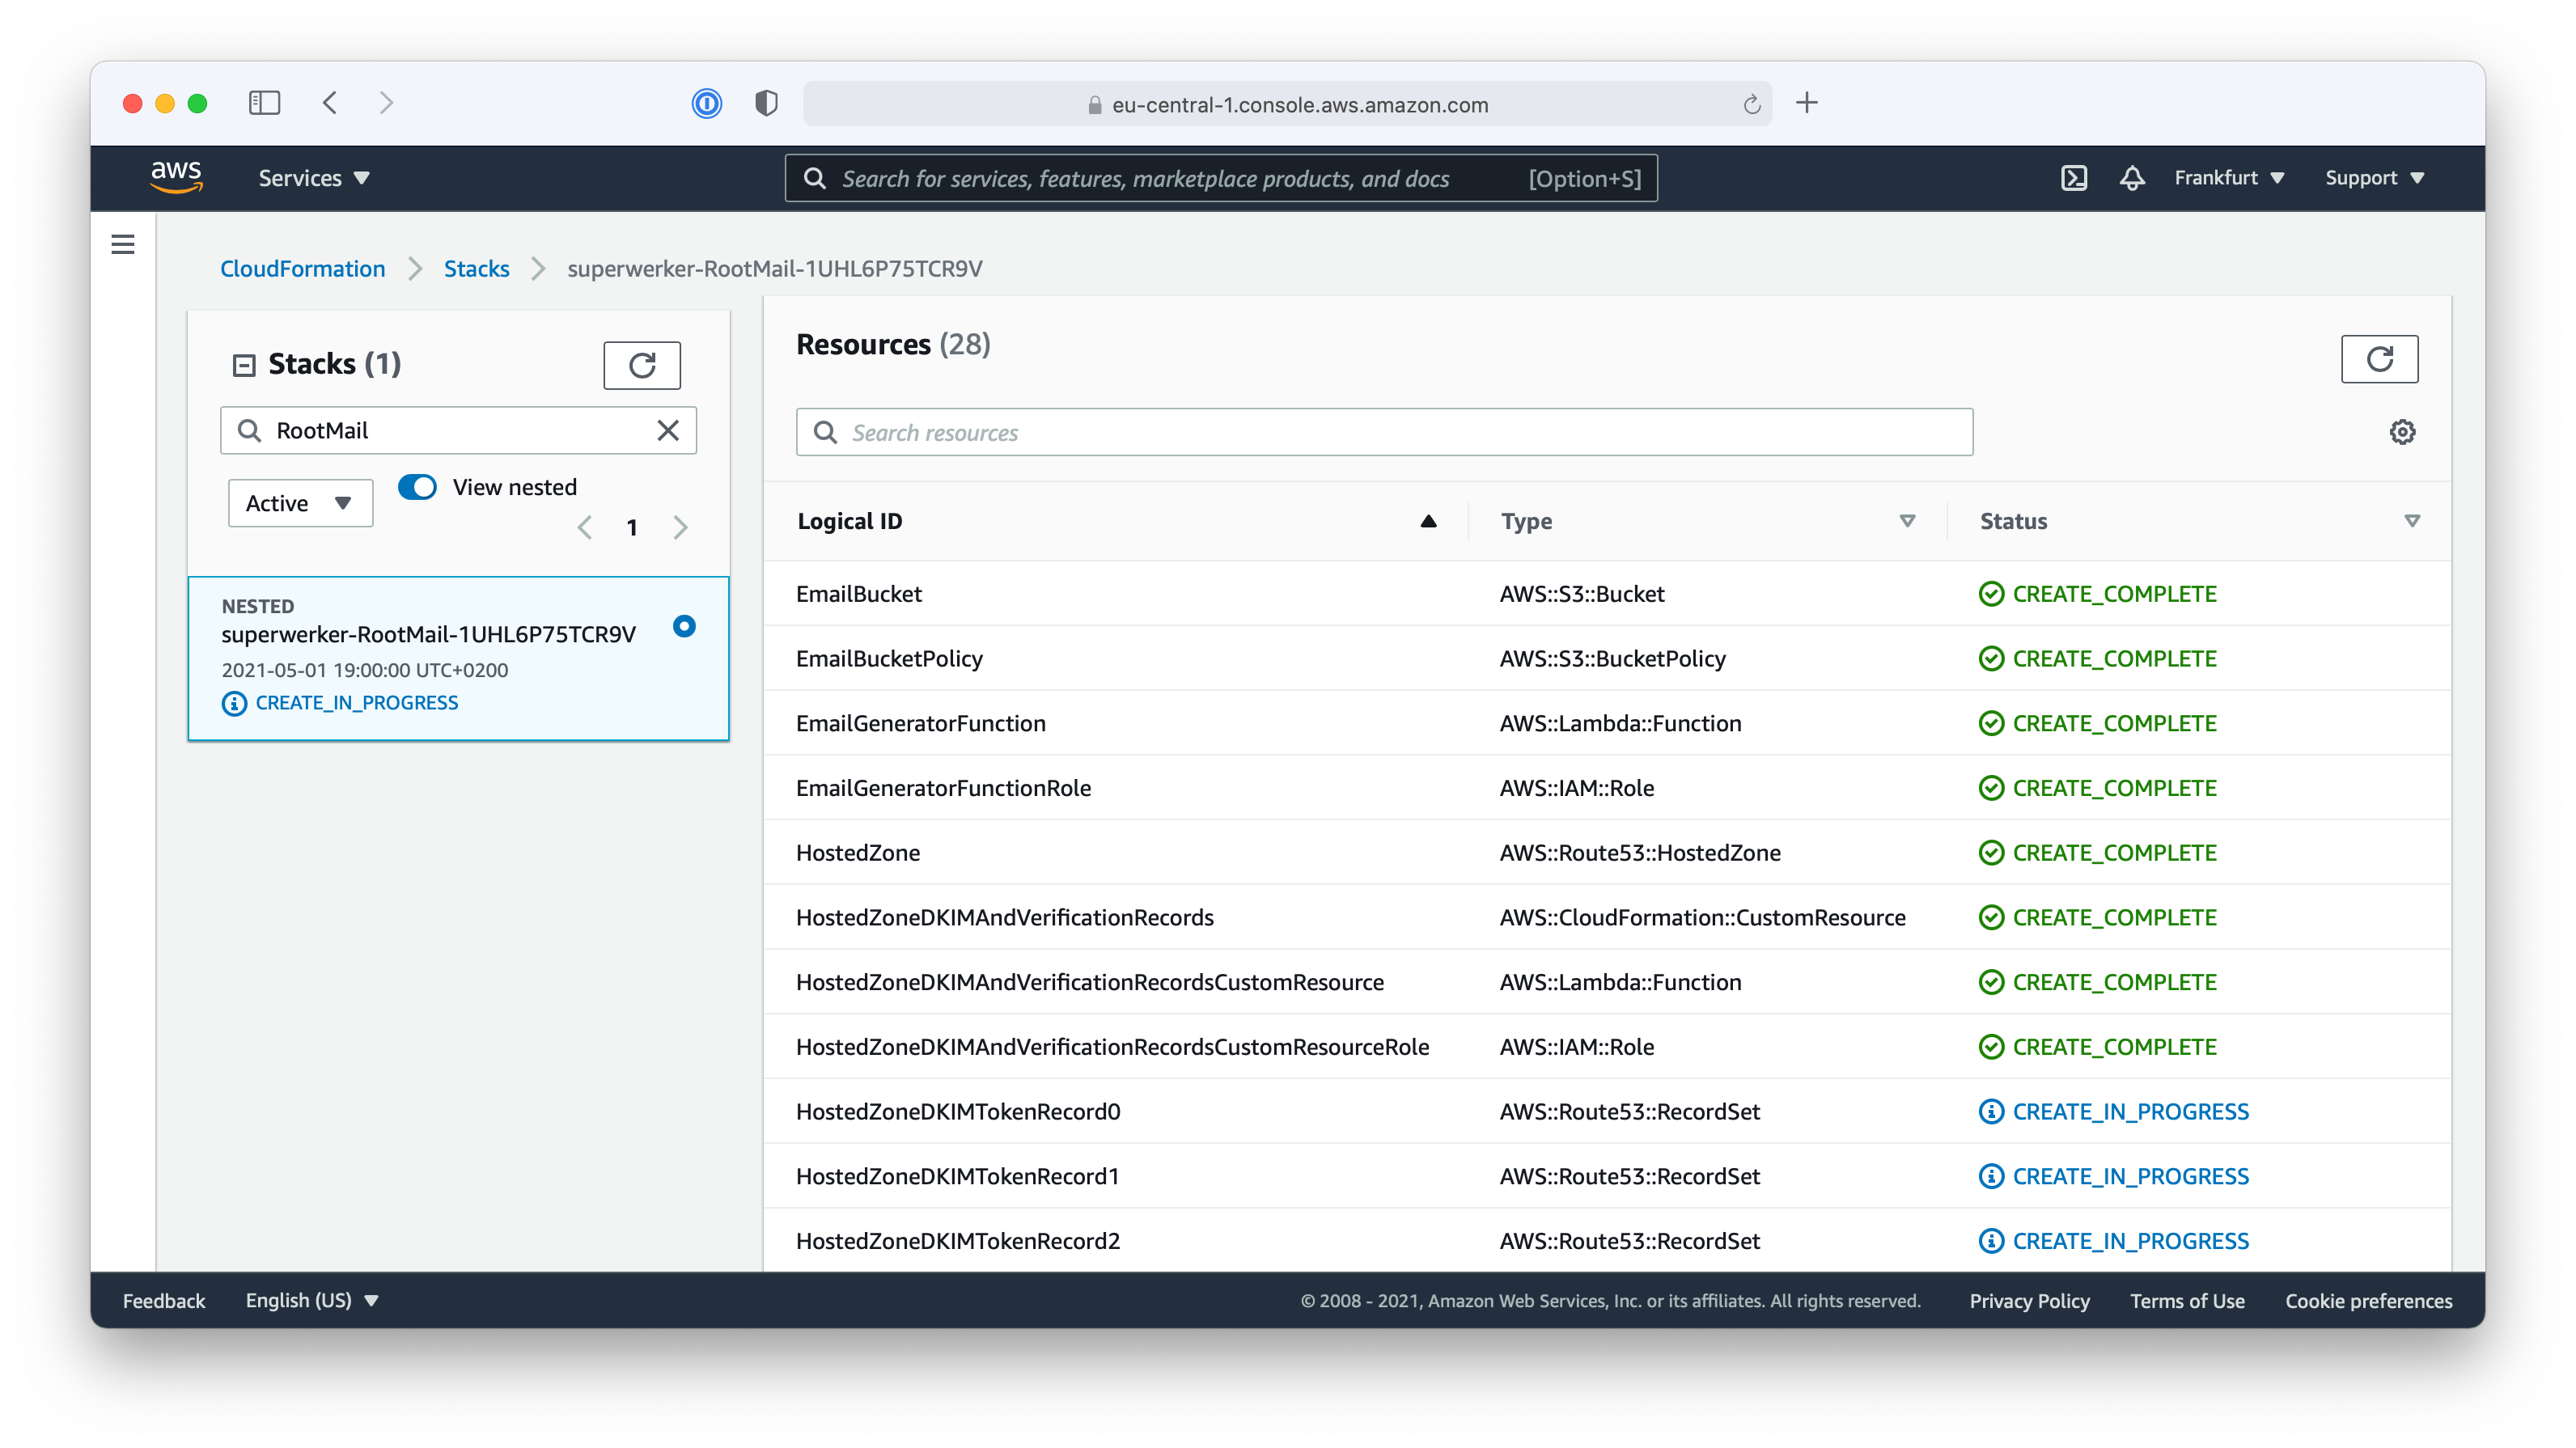
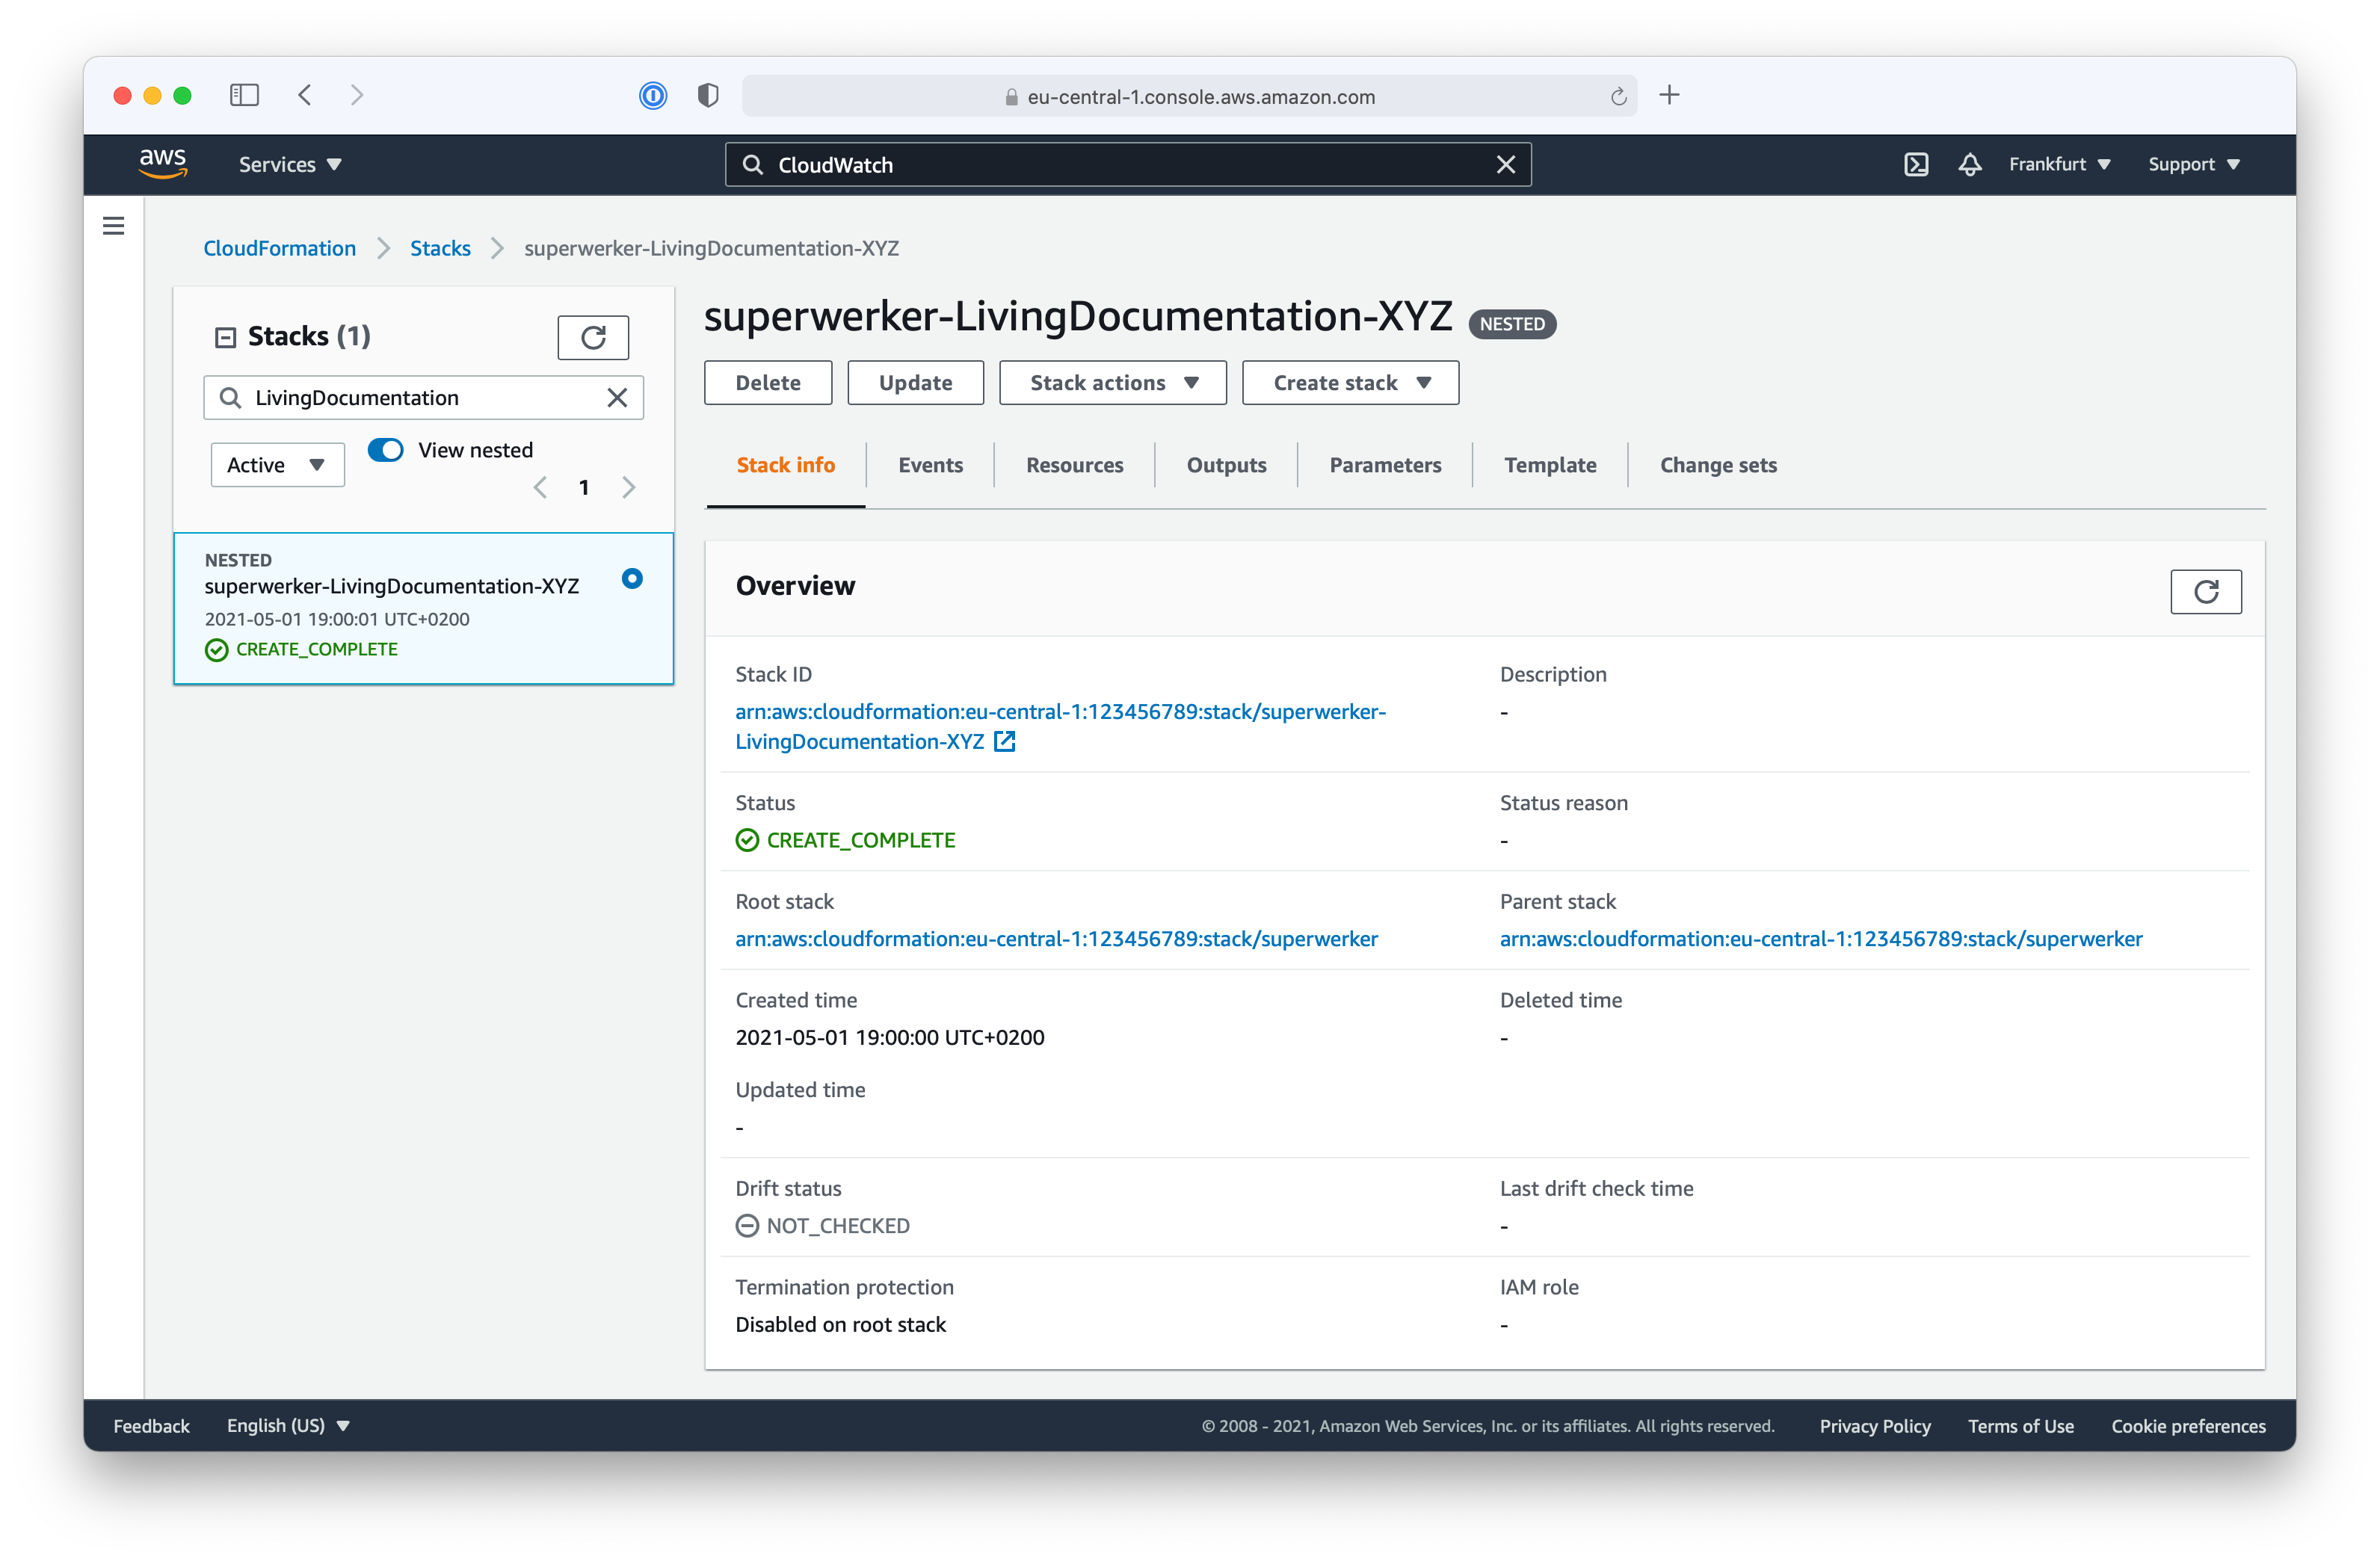
Until the needed DNS settings are configured, the CloudFormation Stack will wait with a CREATE_IN_PROGRESS status. To retrieve the needed DNS settings, check the status of the superwerker-LivingDocumentation Stack in AWS CloudFormation.
When the stack is ready, use the search bar in the console to go to AWS CloudWatch. On the menu on the left side of the CloudWatch console, click Dashboards. You will find that superwerker has created a custom dashboard for you, named superwerker. Click on the link to this dashboard.
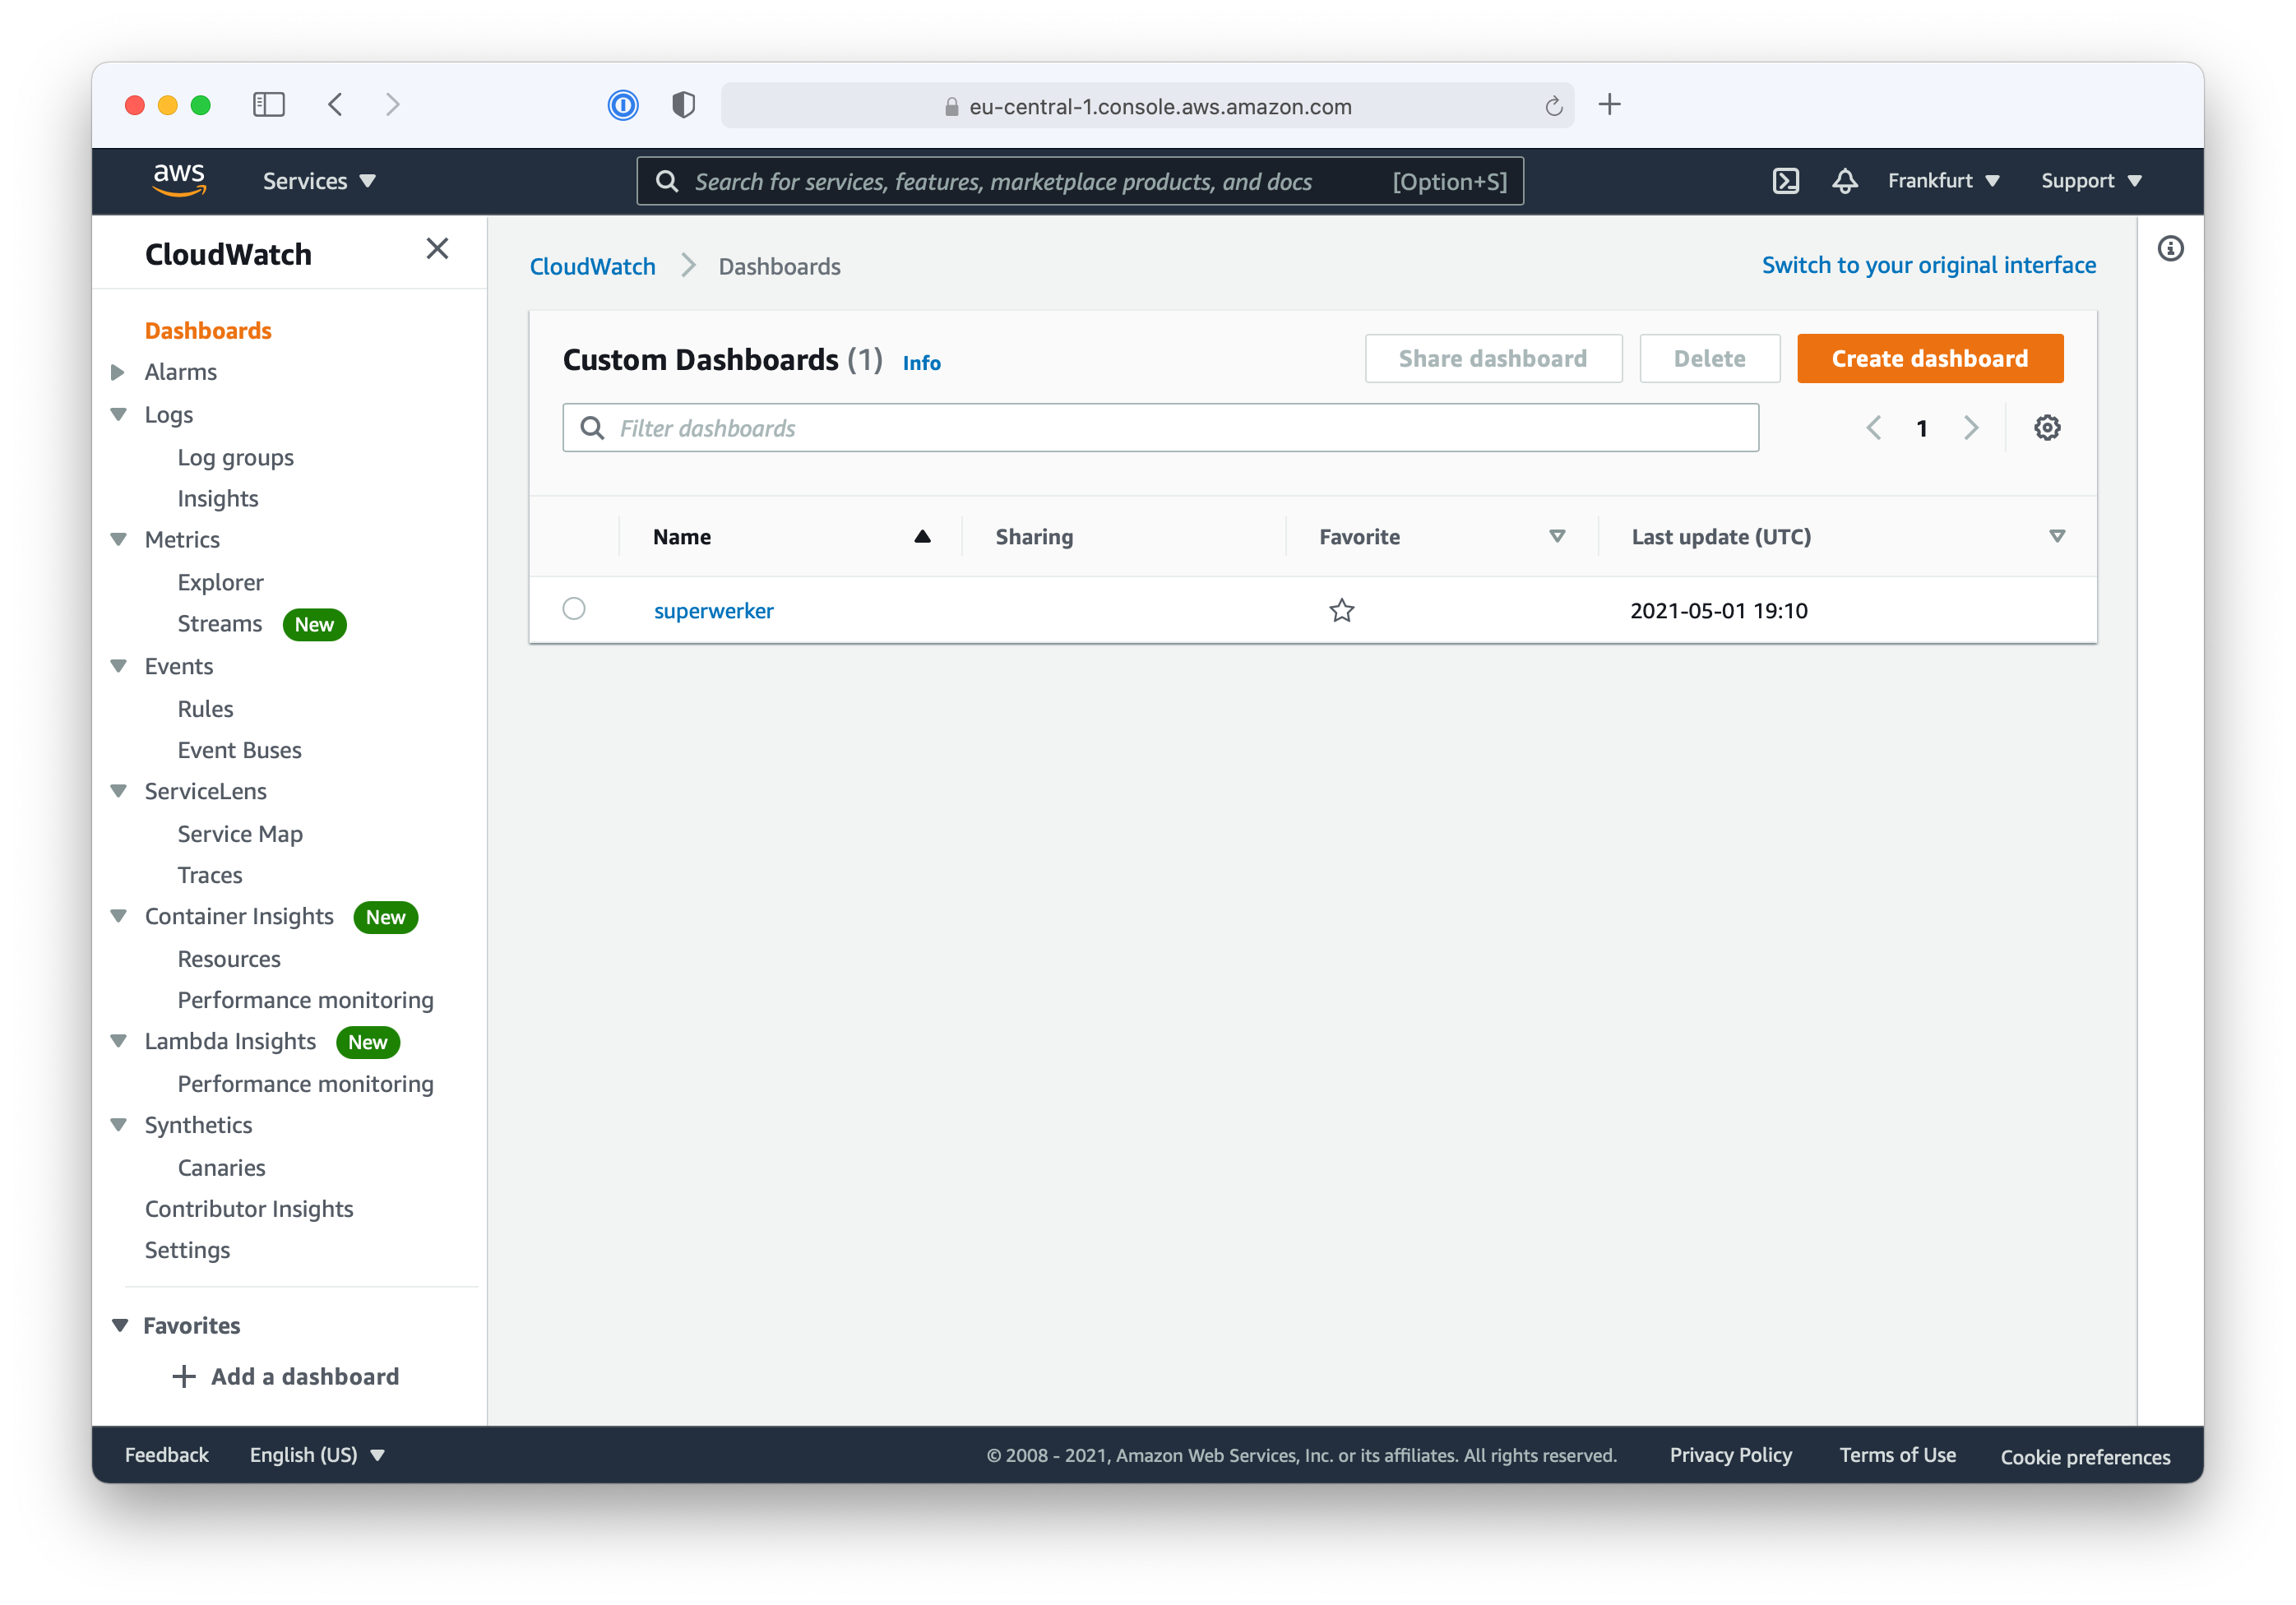
The superwerker dashboard maintains a living documentation for installation instructions, next steps, and standard operating procedures afterwards.
In the “DNS Settings” section, you will find a list of nameservers. Use these servers to set up a DNS delegation for your sub domain.
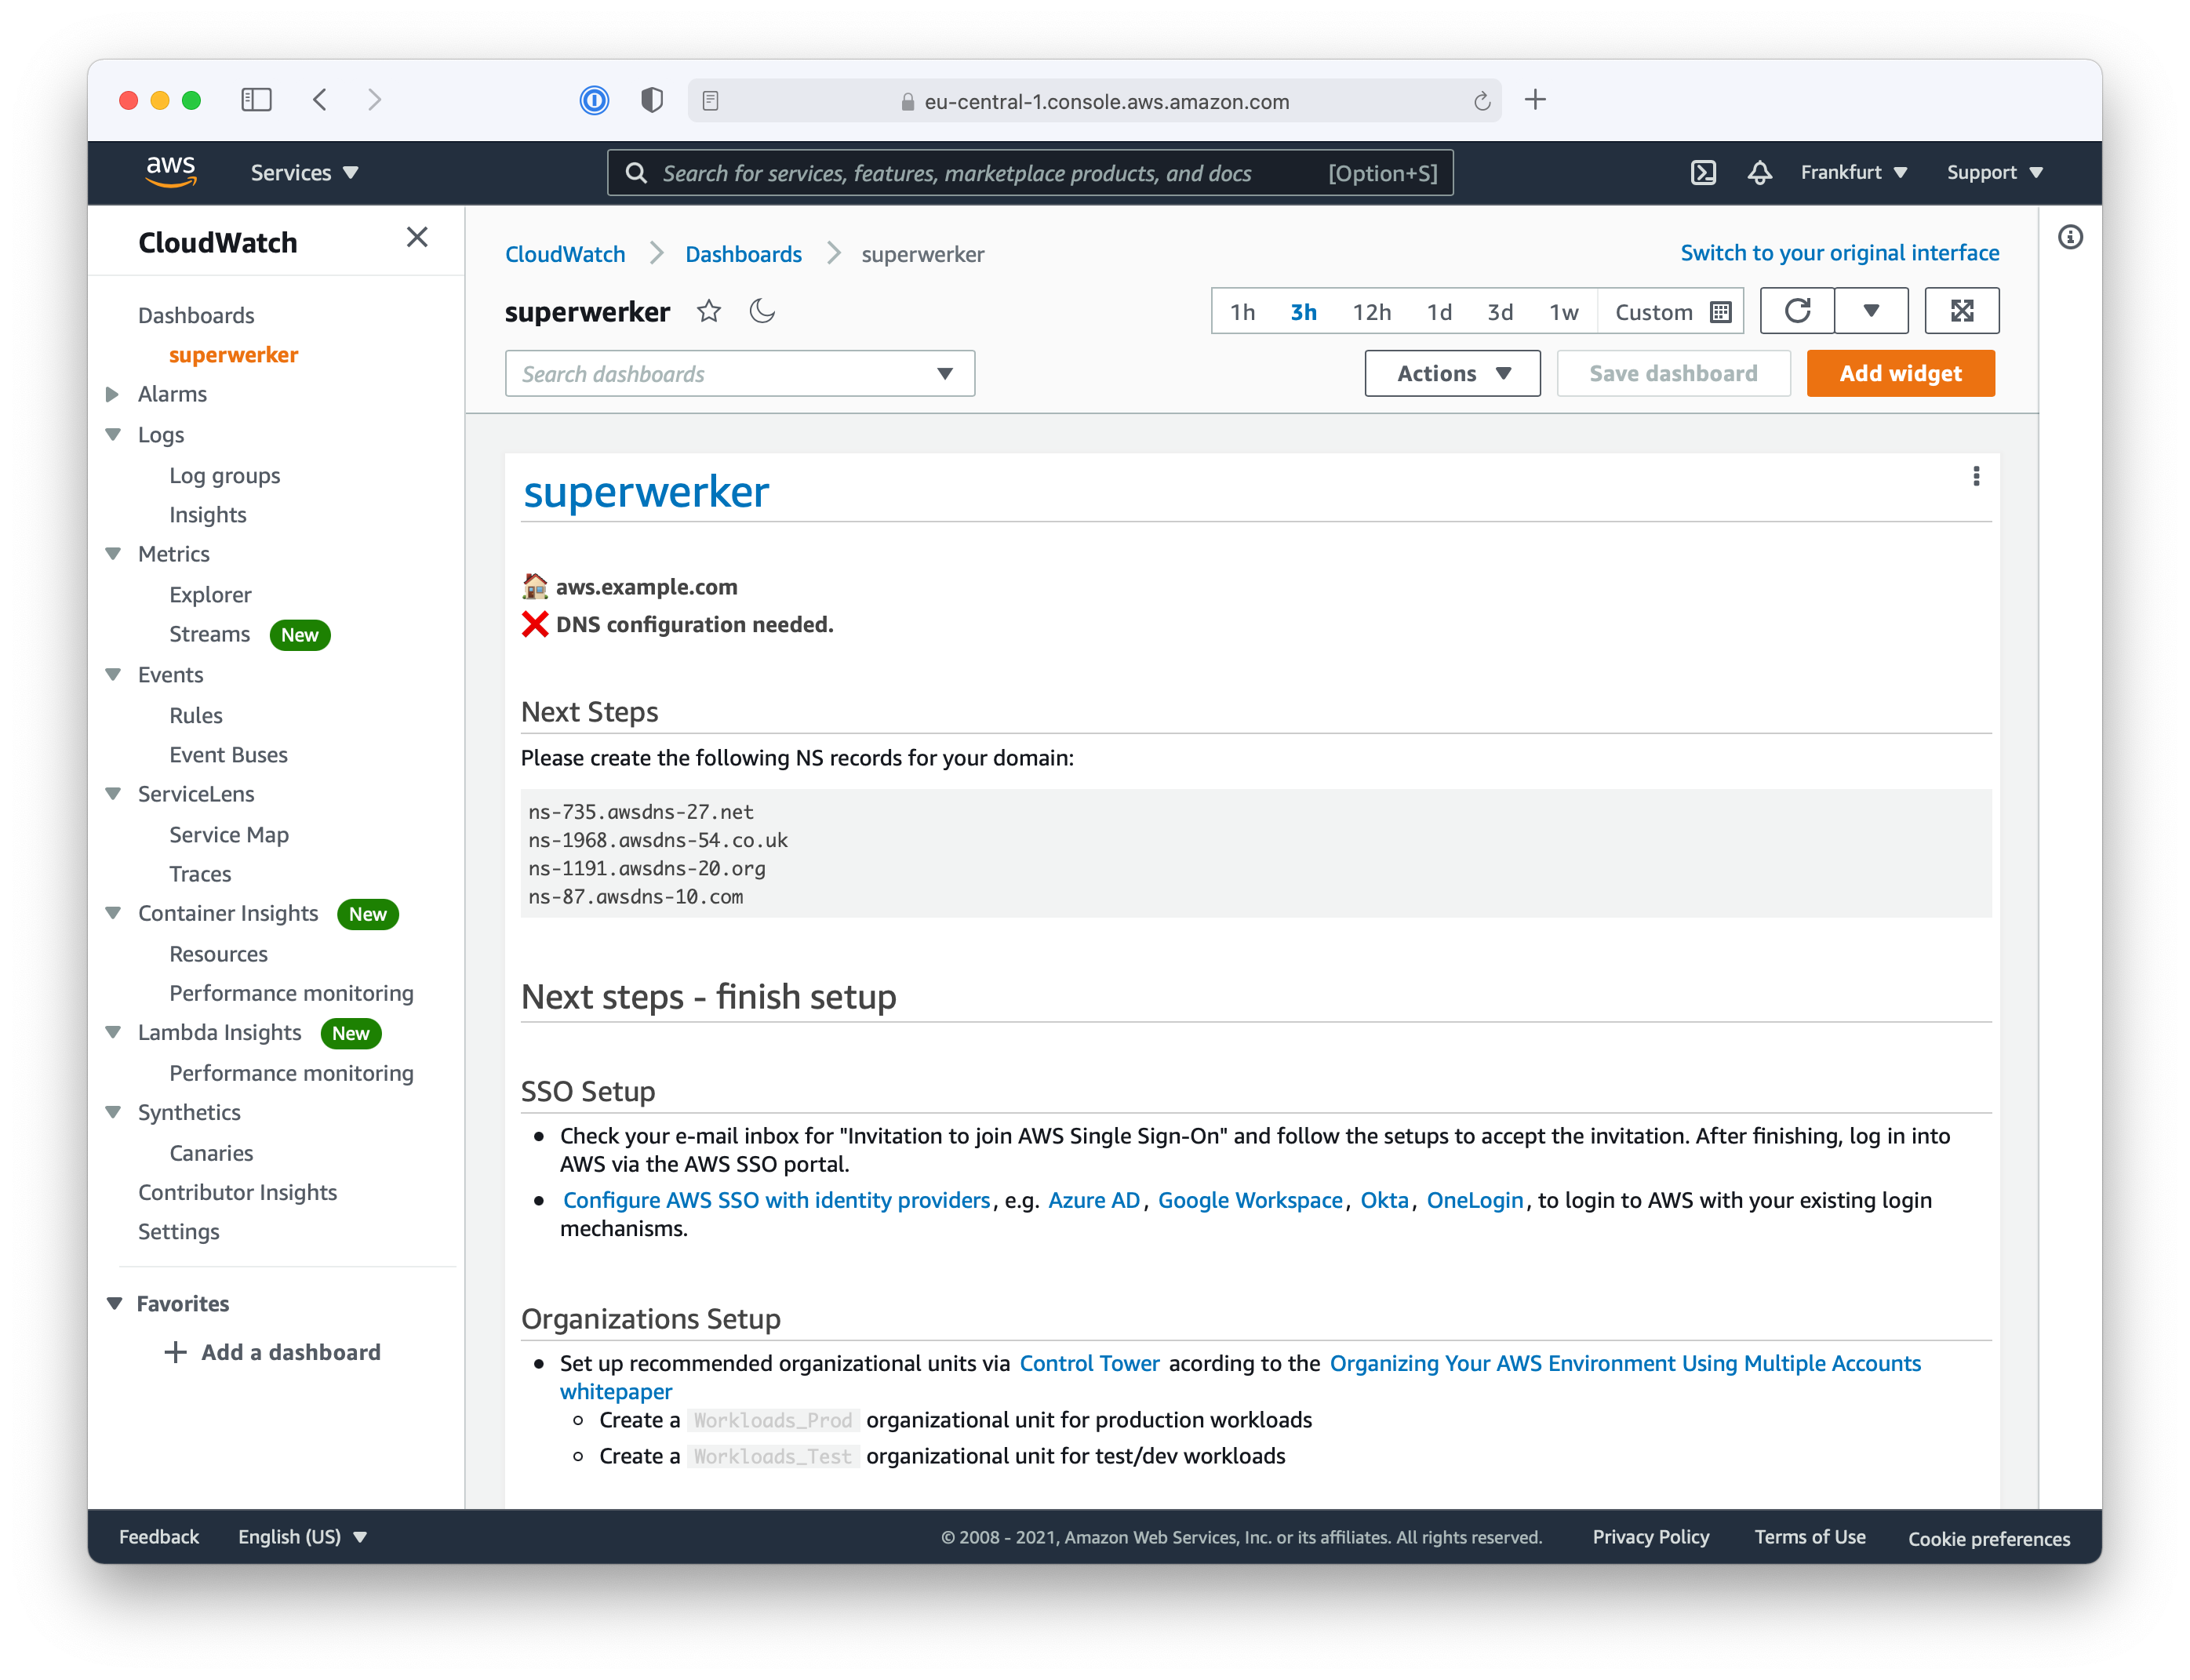
The installation process of superwerker waits until you have finished setting up the DNS configuration. There is no need to confirm the changes, the AWS CloudFormation template will periodically check for the needed configuration and continue automatically afterwards.
Finish superwerker setup
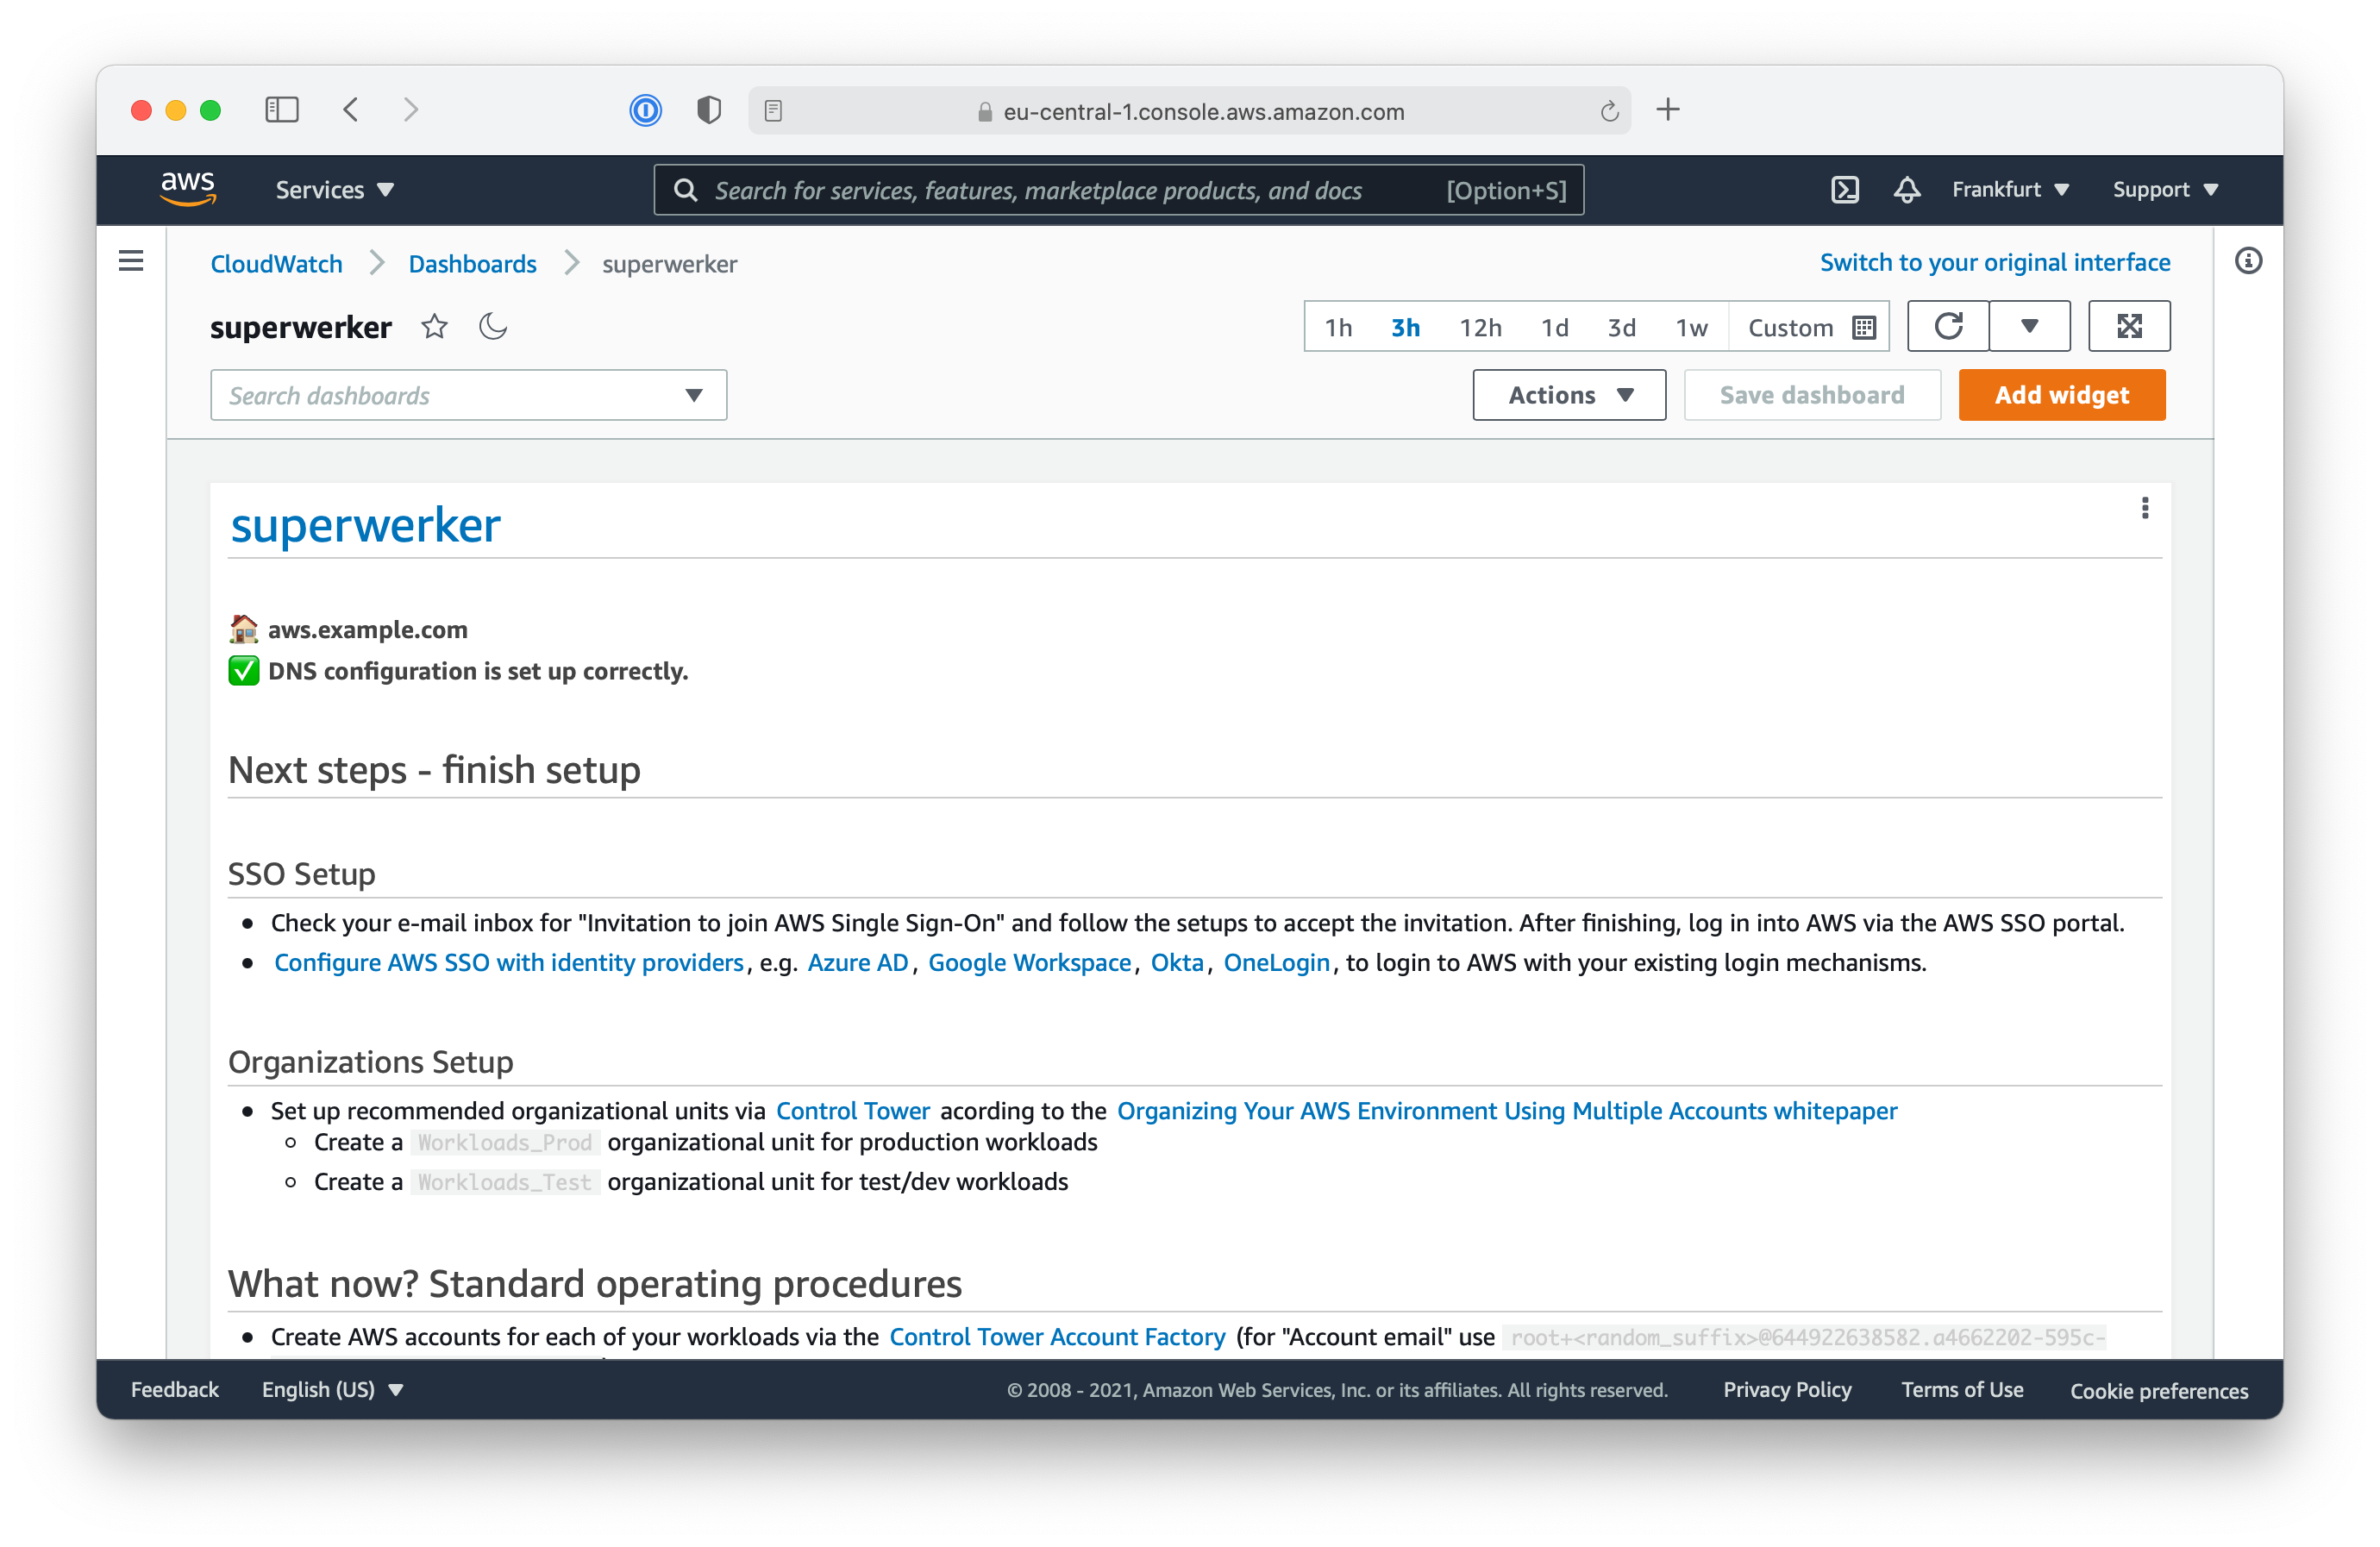
After the installation process has recognized the required DNS configuration, the dashboard in AWS CloudWatch shows a confirmation message.
The superwerker-RootMail stack in AWS CloudFormation will show the CREATE_COMPLETE status as well afterwards.
Now, the superwerker installation process will continue with creating the additional resources. The events for the stacks in AWS CloudFormation show you the installation progress.
While the remaining resources get created, you can head over to the next steps in this workshop:
Make sure to head back at CloudFormation regularly, to check if the superwerker stack has been created successfully.